
I know you guys have seen these old dated coffee tables at just about every garage sale or thrift store you’ve been to. I always pass them by, I could never really come up with good way to up cycle one. Until now. When we purchased our King size bed we didn’t get a head or foot board we decided we’d just make them ourselves. We have already finished the DIY Upholstered Headboard and the foot of the bed was looking mighty bare. My neighbor was moving and asked if i wanted an old coffee table and a side table, me being me, I said SURE, bring it on over! I honestly had zero intentions of using it (Sorry Dylan) but then The Beard and I were hanging in the garage one day and he sat down on it….. I immediately knew Exactly what to do with it. Turn it into an Upholstered bench! I love it when eureka moments happen, so fun.
This post contains affiliate links for your convenience. This means I’ll get a tiny compensation for directing you to products I used at no cost to you. For my full disclosure click HERE
What you’ll need:
- Oil Based Primer
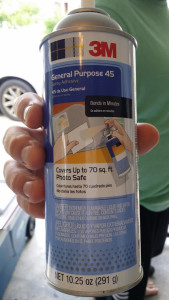
- Spray Adhesive
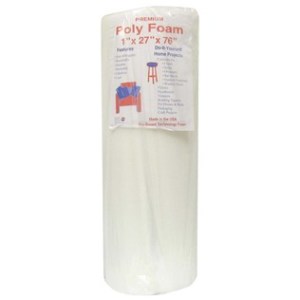
- Foam
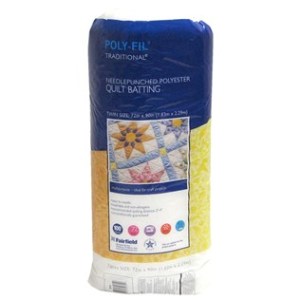
- Batting
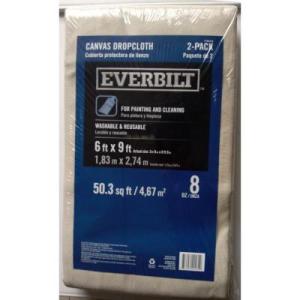
- Painters Drop Cloth
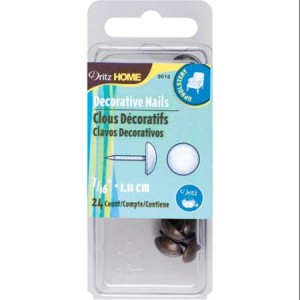
- Upholstery Tacks
- A Hammer
- Staple Gun ( we have an electric one that makes it super easy but manual will work)
- Scissors
- Sanding Block and Paper
- Screwdriver (To remove Hardware)
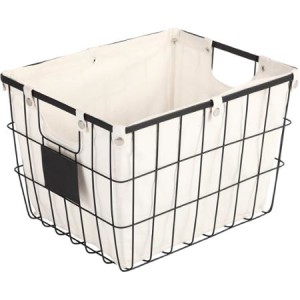
- Super cute storage Baskets. I measured the openings on both sides to find baskets that would fit. I found these at Wal-mart for 10.00 a piece.
The How To Of It All:

We cleaned it up with a degreaser and primed the bottom half. We didn’t do the top because it will be upholstered. I didn’t add any other paint or colors because I knew I’d be distressing it and I wanted it to have a chalk paint/matte finish.
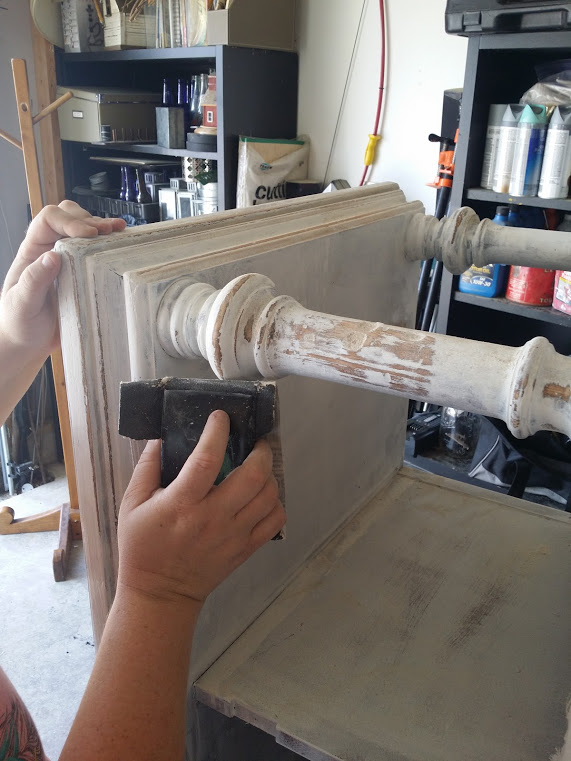
When the paint was dry I took a hand sander to it and distressed it. I love how it turned out.
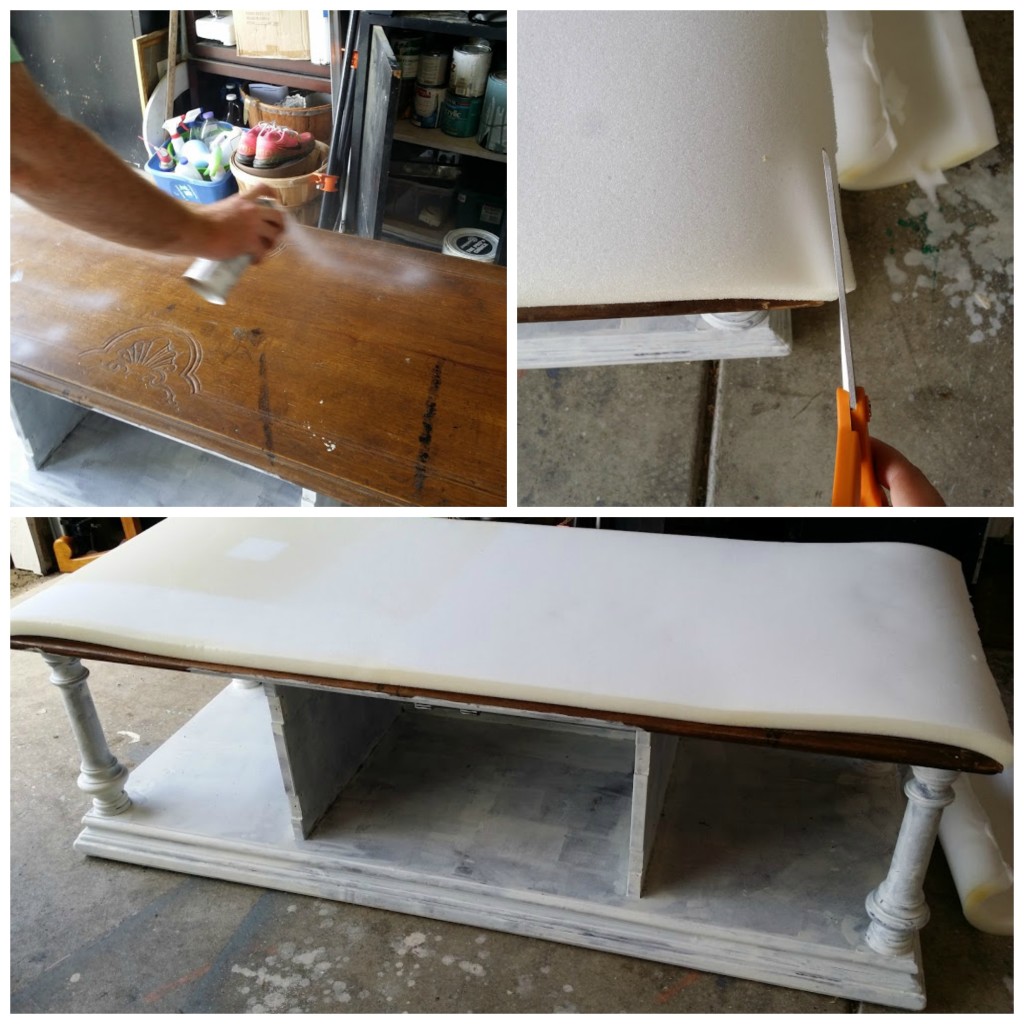
We covered the top with spray adhesive, attached the upholstery foam, and trimmed it down to size. We also added a layer of batting on top of the foam to make it look smooth when the fabric was attached.
We then laid the painters drop cloth down, set the coffee table on top , and cut it down to size. I didn’t take any pictures of the upholstery part, I got a little ahead of my self and wanted to get it finished. We pretty much did the exact same process that we did on the DIY Upholstered Headboard SUPER EASY it took a total of about 3 hours to finish this whole project. NOt including dry time for the primer.
When it was done I added the baskets to both sides for added storage. They have chalkboard displays already on them so I wrote his and hers with a chalk pen.
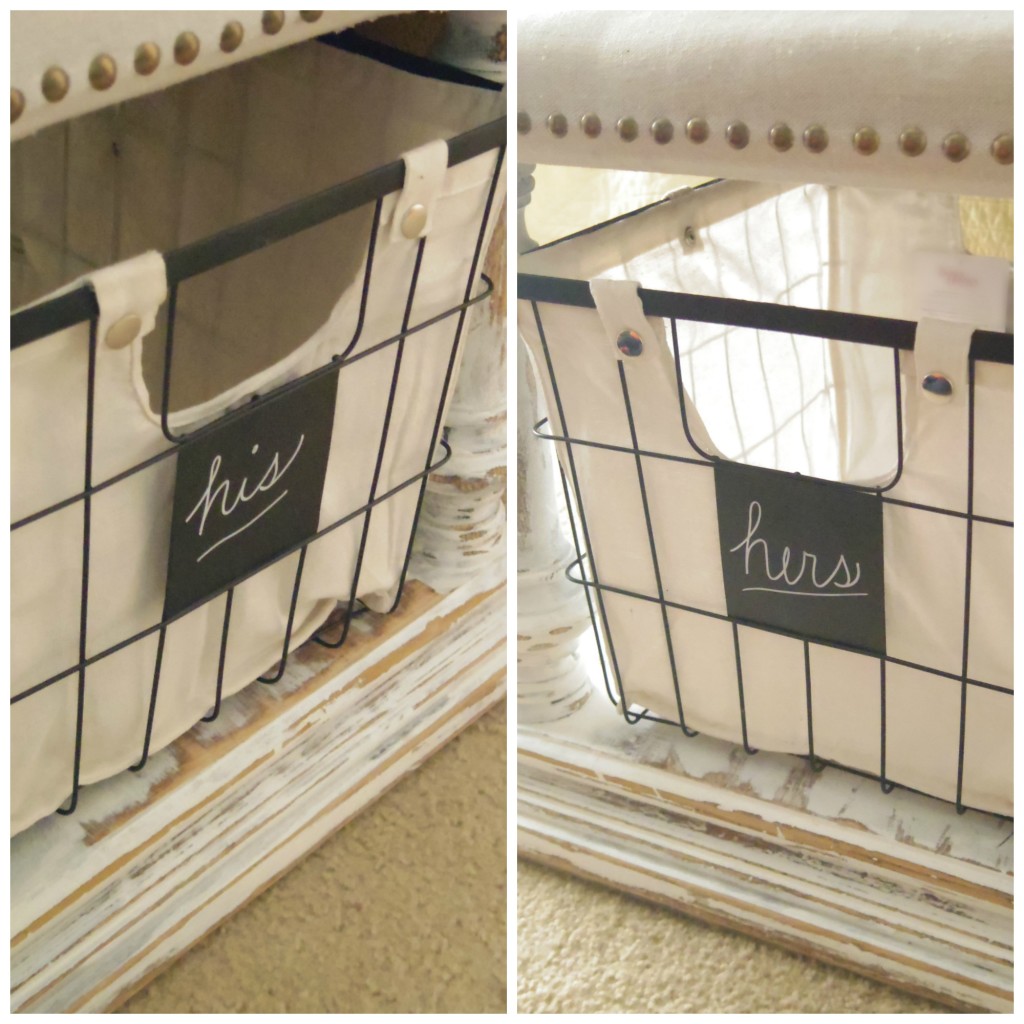
It turned out fantastic! It really finishes our bed and was so easy.
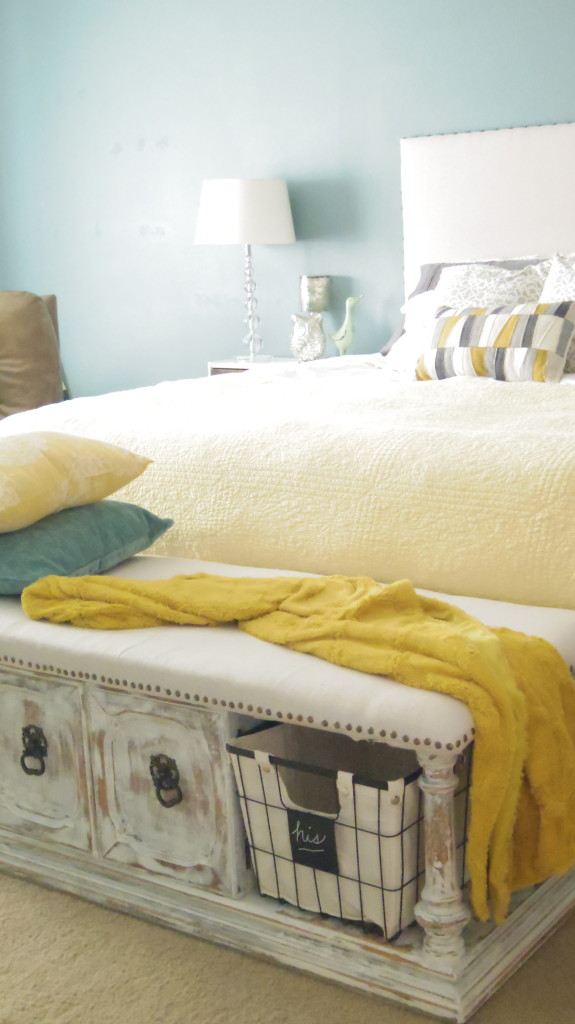
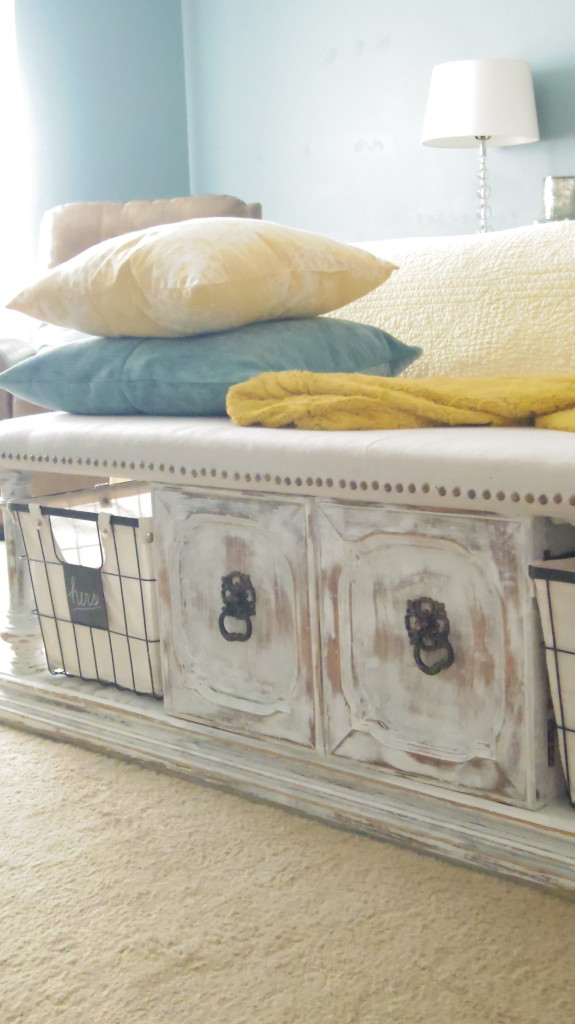
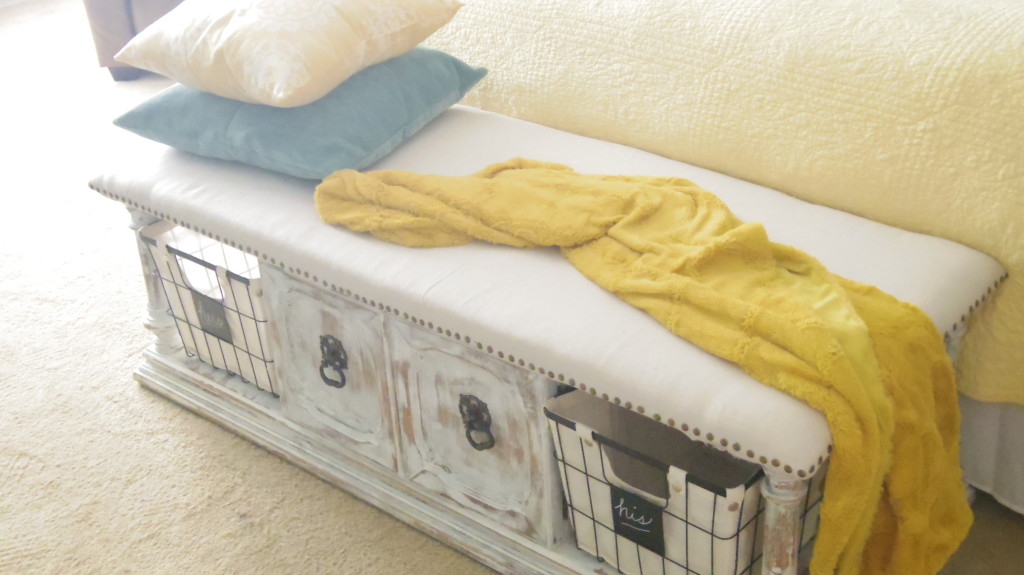
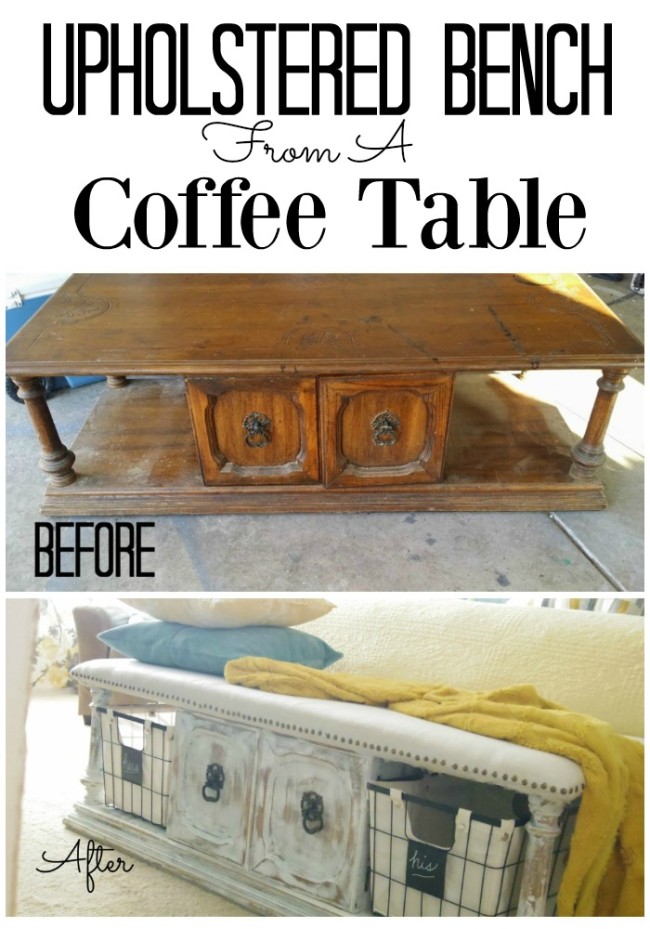 I just love it. It’s such a HUGE change from where we started. hope you guys enjoyed our little upholstered bench makeover. thanks for stopping by!

I’ll be Linking up HERE & HERE

Bre @ Average But Inspired
07/14/2015 at 8:50 PM (10 years ago)This is an AWESOME makeover, Stacey! Such a wonderful idea. Pinning and sharing!
stacey
07/15/2015 at 9:29 AM (10 years ago)Thank you so much Bre! I’m so glad you like it.
Rachel
07/15/2015 at 10:08 AM (10 years ago)Super gorgeous, love love the nailhead trim!
stacey
07/24/2015 at 12:38 PM (10 years ago)Thank you Rachel! I love nailhead trim also, it makes everything look more put together. Thank you so much for taking the time to comment!
Sarah @ Little Red Brick House
07/15/2015 at 4:07 PM (10 years ago)Oh, Stacey. You guys did such a fantastic job on this makeover. It is G-O-R-G-E-O-U-S! I looove it so much!
stacey
07/24/2015 at 12:37 PM (10 years ago)Thank you Sarah! I think we were even surprised it turned out as well as it did LOL.
Amberjane
07/19/2015 at 9:42 AM (10 years ago)I love the bench it is awesome – Thanks for linking up to Pin Worthy Wednesday, I have pinned your post to the Pin Worthy Wednesday Pinterest Board.
stacey
07/24/2015 at 12:36 PM (10 years ago)Thank you so much!
Angela @ Simply Beauitful By Angela
07/21/2015 at 12:05 PM (10 years ago)I absolutely love how this turned out! Most tables that I’ve seen repurposed into benches or ottomons you can still somewhat tell it was a table, but not yours! Awesome job 🙂
stacey
07/24/2015 at 12:35 PM (10 years ago)Angela, you are so sweet! Thank you for taking the time to stop by. It’s so appreciated.
the cape on the corner
07/23/2015 at 2:12 PM (10 years ago)perfect! love the top.
b
Shelly
07/23/2015 at 11:15 PM (10 years ago)This is stunning Stacey! Great job – thanks for sharing!
stacey
07/24/2015 at 12:34 PM (10 years ago)Thank you so much Shelly! I’m so happy you like it.
Brenhna
07/24/2015 at 12:19 PM (10 years ago)A bench at the end of the bed is a fantastic look! Did you think of adding casters?
stacey
07/24/2015 at 12:33 PM (10 years ago)Hi Brenhna,
Actually it has some on it that are original. They’re up under the wood trim and still work perfectly, so we left them on it.Thank you so much for stopping by and taking the time to comment! Have a great day.
Chrissa - Physical Kitchness
08/25/2015 at 11:57 AM (10 years ago)What?! This is amazing! Holy moly you are crazy talented. If I attempted that, it would NEVER look this good! Love what you’ve done!
stacey
08/25/2015 at 1:17 PM (10 years ago)Thank you so much Chrissa! You are so kind.
Kelley
08/25/2015 at 12:21 PM (10 years ago)I love the transformation! It was made for that space. Nice work.
stacey
08/25/2015 at 1:17 PM (10 years ago)Thank you Kelley! It was definitely one of those, you didn’t realise you needed it until it was there, kind of things. Thank you so much for taking the time to comment.
rachel fox carter
09/14/2015 at 6:10 PM (10 years ago)Had an amazing fun time recreating this piece Stacey !!!
Keri
10/12/2015 at 3:48 PM (10 years ago)This bench is fantastic!! Great repurpose of an old coffee table!! I love how you put baskets in there for additional storage!! It looks really good!!
Allie
03/26/2018 at 2:07 PM (7 years ago)I am doing something similar to my old ugly coffee table and I just have a quick question. My sister and husband said that I needed to sand down the coffee table first because it has that shiny coat on it. They said sanding it down will help the paint stick to it. Did you sand the piece of furniture down first before you covered it with primer?
Eop
01/02/2019 at 8:53 PM (6 years ago)LOVE IT!!!!!!!!!!!!! What did you do with the side table?