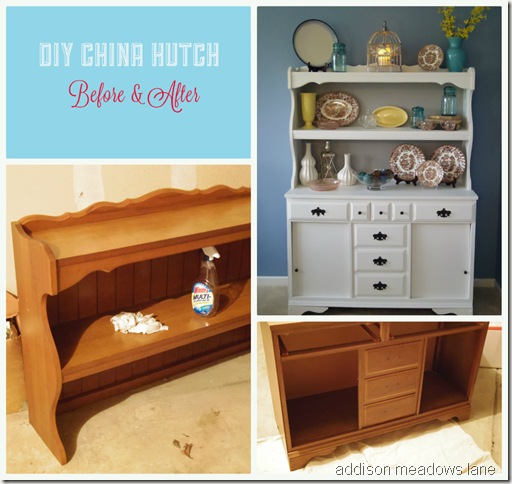
So My best friend in the whole world and her husband just purchased a house (YAY), and she asked me to help her with a piece of furniture that was given to her. So if you’re a person that has purchased a first home or just moved anywhere for that matter, you know the type of furniture people just “give” you it’s well, how should I say this, used. Used is a good word. This piece was very …used. Ha Ha. All of that aside it still has great lines and is still pretty sturdy. Which is amazing considering some of the stuff people have tried to “give” me. So we decided to PAINT THAT THANG! Hence the title. To me painting an older piece of furniture is like breathing new life into it. It’s amazing what a little paint and elbow grease can accomplish.
What You’ll Need:
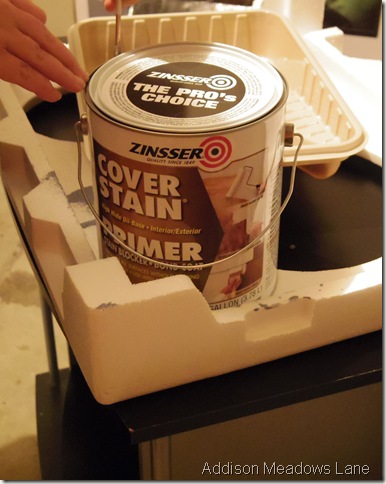
- Oil based primer- We used this because the Hutch was almost entirely laminate, which is very slick (and we’re lazy and didn’t want to sand). Oil based primer will stick to just about anything with very minimal effort.
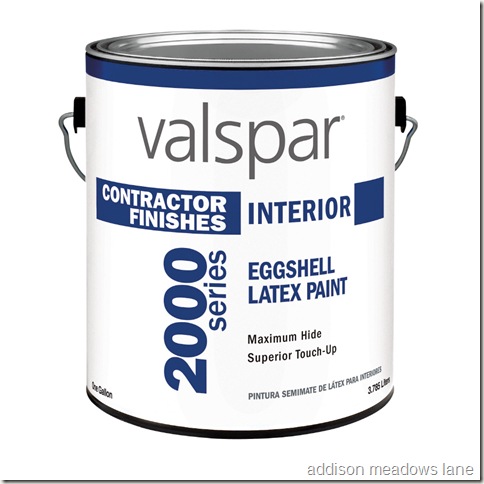
- 1 gallon of paint eggshell finish or shinier to protect from damage.
- We also painted the inside of the hutch a gray color that I had laying around. This will help her dishes and anything else she puts on it pop.
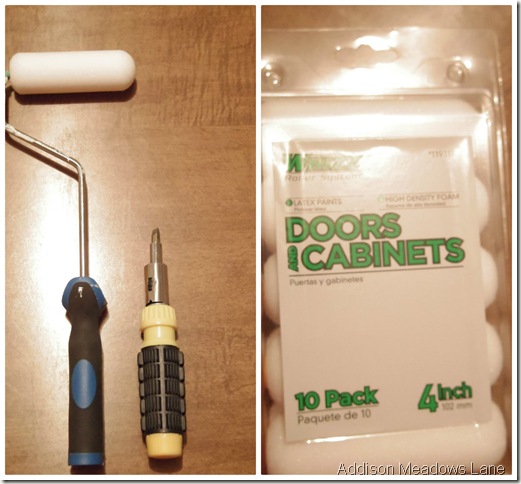
- A small paint roller with a foam roller on it- I suggest the rollers that have for cabinets and doors on the package. They seem to give the smoothest finish, especially since we aren’t distressing this piece.
- A screwdriver-this is to remove any hardware on the furniture.
- A sanding Block- For getting rid of any drips or imperfections before you put the final coat on. I’d suggest Around 220 grit.
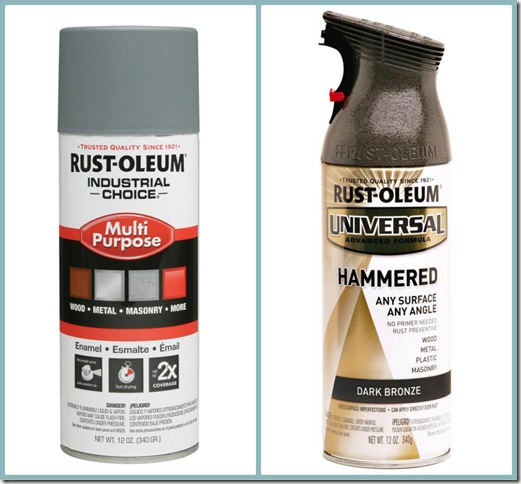
- A can of Spray Paint Primer. I cannot stress enough how important it is to prime your pieces before you paint them. It saves so much time and energy!
- A can of spray paint in whatever color you choose to do the hardware in.
All of these paint colors are subject to what you want your furniture to look like. Have fun with it, worse case scenario you have to repaint it, NO BIG DEAL.
How To:
- Clean your furniture. I typically use anything with a degreaser in it.
- Remove all hardware. If you don’t want to use the hardware that came with the it you can always buy new. Don’t worry if the holes don’t match up, just fill the old holes with wood putty and let dry over night. Then sand flat before you put your primer on. After all your painting is done you can drill new holes.
- Using your foam roller cover entire piece with the primer. Anywhere you want color,put primer. Let the primer cure for at least 24hours this ensures it will not come off when you paint your top coat. *If you’re using 2 colors like we did be sure not to paint over the primer in these spots or your other color won’t stick. (learned that one the hard way) This would also be a good time to clean and prime your hardware while your waiting for your primer to dry
- Apply your paint color. Be sure to tape off anywhere you don’t want painted. Let cure over night you may need to apply a second coat.
- Spray paint your hardware with whatever color you chose. Let dry and touch up where needed. Then re-attach to furniture.
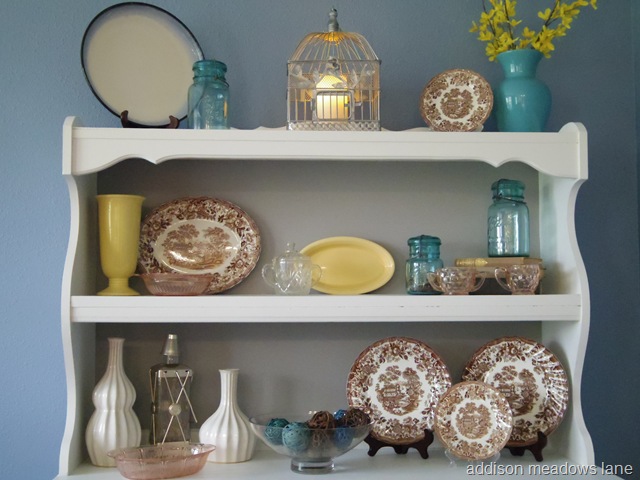
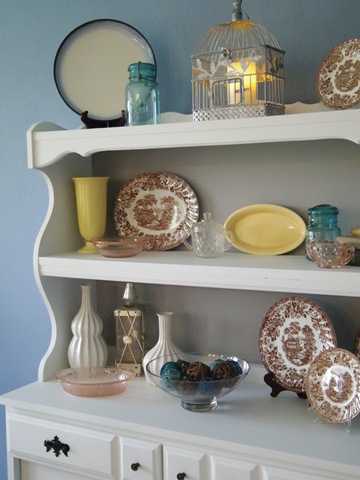
- Last but not least decorate it!!
So now,just to refresh your memory, a little before and after action.
This is probably my favorite project to date. Not only did I get to spend QT with my bestest friend, we took a piece of furniture most people would have thrown away and made it show room quality. This hutch just proves with a little love and fabulous accessories you can make anything beautiful!
AND now for some eye candy.
OOOOOOOOOOOHHHHHHHHHHH.
AAAAAAAHHHHHHHHH
LOVELY! Thanks for stopping by hope you got all you needed.
I’m Linking Up Here:
If you have any questions be sure to drop me a line!
-Stacey
14 Comments on How to Paint laminate Furniture. (Diy China Hutch)
1Pingbacks & Trackbacks on How to Paint laminate Furniture. (Diy China Hutch)
-
[…] addisonmeadowslane […]


Angela
04/26/2013 at 2:36 PM (12 years ago)I LOVE it! I love the color and the way you have it arranged! I just finish one myself. Newest Follower here 🙂
Angela @ HickoryTrail
stacey
04/26/2013 at 4:30 PM (12 years ago)Thank you so much! I checked yours out and it’s beautiful!
Allyson
04/28/2013 at 2:30 AM (12 years ago)You are being way too nice…this thing was in bad shape. It was falling apart when we tried to move it! With that being said, I would have never know how to refinish this and make it look so great without you helping and guiding me. You are so smart and creative! I can’t wait to do more projects with you and see what we can come up with! 🙂
Jeanne
05/02/2013 at 7:47 PM (12 years ago)Lovely arrangement. I love decorating hutches also. Check our my latest hutch arrangement.
http://jeanneselep.blogspot.com/2013/04/spring-hutch-arrangement.html
Christina @ I Gotta Create!
05/05/2013 at 2:03 PM (12 years ago)Beautiful transformation!
Thanks for sharing it at the Wildly Original link party =)
<3 Christina @ I Gotta Create!
Corey @ Tinysidekick
05/21/2013 at 5:21 PM (12 years ago)This looks so great! Pinned from the pin it Tuesday party!
Thanks for sharing.
Corey
stacey
05/21/2013 at 5:35 PM (12 years ago)Thank you!! I really appreciate you taking the time to comment!
Miriam
05/22/2013 at 5:53 PM (12 years ago)I love it..I would of done the same thing I have things that were giving to me and it was bad and I painted and looks brand new. Can’t wait to share them on this blog hop
Alexa (Kat Biggie)
05/24/2013 at 5:01 PM (12 years ago)Wow! That’s really nice! I am about to repaint the cupboards in my kitchen, and these are great and helpful tips. Thank you for linking up with me and my other co-hosts at PinIt! Tuesday! Hope you’ll be back!
Atta Girl Amy
06/11/2013 at 4:03 AM (12 years ago)Great makeover.
I love bringing new life to furniture that others would throw away or overlook.
Tracy
11/09/2014 at 7:42 PM (11 years ago)How to handle when the laminate is all bubbled up??
stacey
11/10/2014 at 8:26 AM (11 years ago)Tracy, I’ve nevre had to deal with a piece that had bubbles. You may be able to peel them off and have to do some light sanding to smoooth it up a bit.
Jill Brewster
02/05/2016 at 9:43 AM (9 years ago)Does the small foam roll get into the corners or did you have to use a brush of some sort for the corners? Thanks! Jill