Dresser to an Island: The Chronicles Part 2
I know! I’ve been MIA for a while. But through all the summer madness, not having a working computer, and a plethora of other things I’ve made it back! (The crowd goes wild!!) LOL. So lets get to it. We are on the first stage of a massive project in our kitchen. Anyone that knows me knows I’ve wanted an island in my kitchen for years!! I hated my pub style table with a passion!
- It was entirely too small for all the entertaining we do.
- I just didn’t like it.
So I decided instead of paying A ton!! of money to have one custom built for me, I was going to build my own. So here we go!
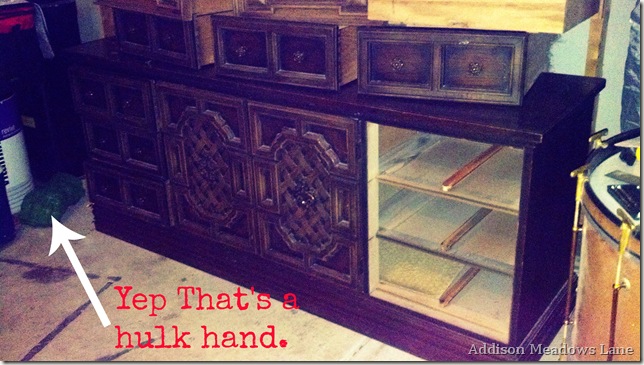
The base of the entire island is the super awesome and super long dresser someone on the street behind us set out with a free sign on it,yes you read that correctly, FREEEE!!! SCORE!!
Isn’t she a beaut!! All that extra storage in my kitchen is going to be Uh-mazing
So the first thing we did was add legs to the dresser to get the correct height. We wanted it to be bar height which is average 40-42” so it’s comfortable to stand at as well as sit.
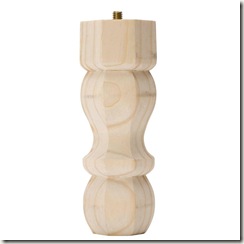
I purchased 6 of these legs from Home Depot but they were the 3 inch version.
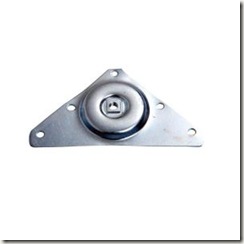
These are the brackets the legs screw into.
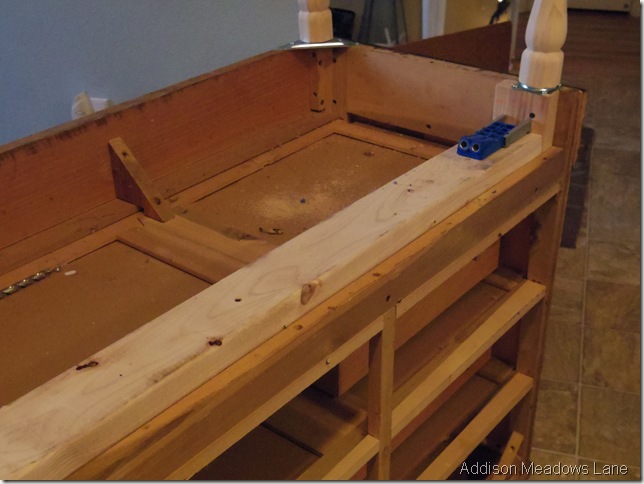
We also bought 4 -6 foot 2×4’s to beef up the underside of the dresser so we’d have somewhere to add 2 legs in the middle of the dresser and also to keep the dresser from sagging in the future.
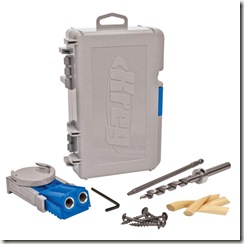
We purchased a Kreg Jig to join the braces to the side supports of the dresser.
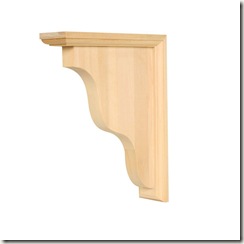
So after all the work was done on the bottom side we flipped her over and added some Shelf Brackets that are going to assist with holding up the massive counter top.
We attached three of these on the back of the dresser, where the bar stools will go, not only for aesthetic reasons. The 2×10’s we are using for the counter top are very heavy, and will need the extra support.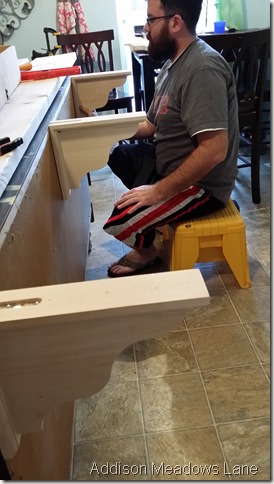
After these we moved on to the counter top which I will be posting about very soon! Until then here is a sorta sneak peek to where we are now.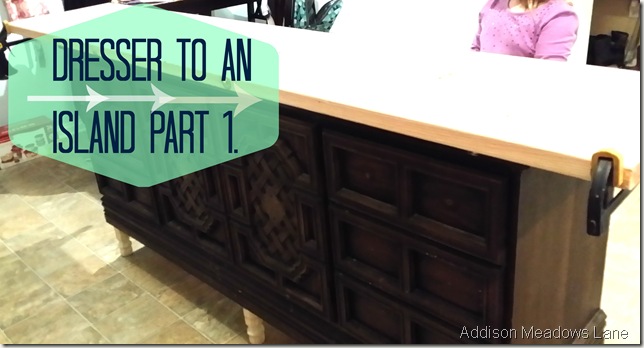
I’m so excited that this is happening right now! I can’t wait to share the rest with you!
-Stacey

Mom
01/24/2014 at 7:13 PM (11 years ago)Good to see you are back! The first stage pictures are great. So proud of you and Corb for putting the island together.
Jeannine @ The Concrete Cottage
03/24/2014 at 8:42 PM (11 years ago)Alrighty, can’t wait to see it totally finished! And I should mention I’m your newest follower! 🙂
Becky
04/17/2014 at 11:53 AM (11 years ago)This so makes me wish I had a larger kitchen. What a great project!
stacey
04/17/2014 at 2:54 PM (11 years ago)Becky, this could also be done in a much smaller scale. I just have an eat-in kitchen and no dining room, so it worked out well for me. Thanks so much for stopping by.
Judy Parkey
03/06/2015 at 2:09 AM (10 years ago)I love this idea. I have a similar dresser but the middle of top is bowed downward. I think in your pic yours was, too? Think this would be a problem? I note how you added support to the bottom.
stacey
03/11/2015 at 1:19 PM (10 years ago)Yes ours was bowed. When we added the support to the bottom we also added a 5th leg in the middle to prevent it from getting worse when we added the wood top. If you don’t add some sort of support I believe it will just gradually get worse. Good luck with your project!