Happy Thursday!
There’s a TON going on here today First we have our 52nd Anniversary of The Think and Make Thursday Link Party. That we’re celebrating by having a GIVEAWAY. I know 52 Link parties??!? Just seemed like yesterday was our first post.

Second I am honored to be part of a SUPER awesome new group called Furniture Refresh. It’s made up of some really amazing bloggers that will be following monthly themes and Refreshing old pieces of furniture. This months theme is: Inspired By.
Such a fun theme to start us off.
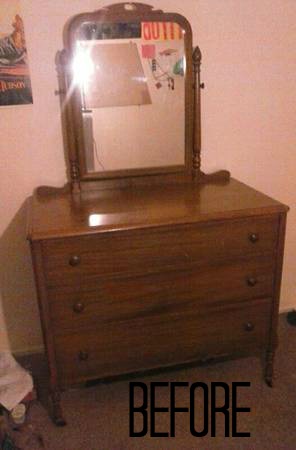
So I went on the hunt for the perfect piece and found this old dresser on Craigslist for 60.00 bucks and thought it would be the perfect candidate for a Dresser Refresh. I’m absolutely in love with old vintage sheets, and decided to make that my Inspiration for this piece. I don’t have step by step photos for this dresser, I had a major malfunction with my camera and lost them…..WOMP WOMP. So I’m going to give you the step by step best I can.
*This post contains affiliate links for your convenience. This means I’ll get a tiny compensation for directing you to products I used at no cost to you. For my full disclosure click HERE
Supplies you’ll need:
- Chalk Paint I used Dutch Boy Chalky Finish Paint from Menards COLOR: NOrth Haven

- Chalk Paint Brush
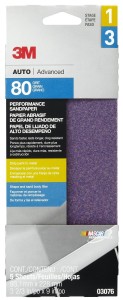
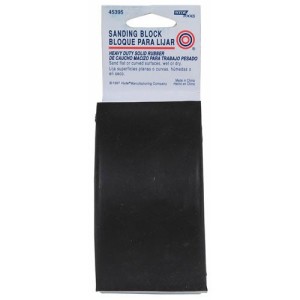
- Sanding Block and Sand Paper (I used an 80 grit to take a lot of the paint off)
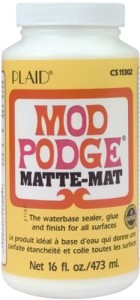
- Modge Podge Make sure it’s the MATTE FINISH Gloss will not look the same and will leave it very shiny.
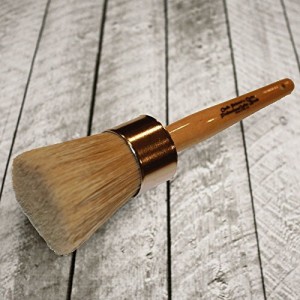
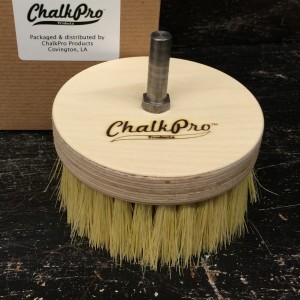
- Wax Buffing Brush. I LOVE THIS THING it makes waxing so much faster
Alright there’s the supply list now let’s get on to the how to of it all.
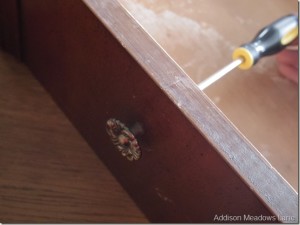
- Remove all of your hardware
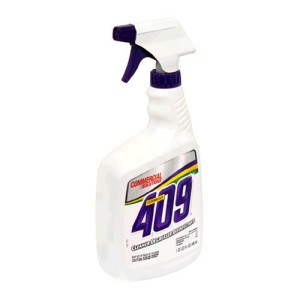
- Clean all the surfaces you plan on painting with a degreaser and a clean cloth. I use this Heavy Duty 409 to me it works the best.
- Time to paint! I painted the entire unit including the drawers, handles, and all around the mirror with the Dutch Boy Chalky Finish Paint. YES I PAINTED THE DRAWERS. The napkins are very see through when you peel them apart and I wanted to be able to see the blue through them.
- After your paint cures for 24 hours it’s time to Distress it. I sanded EVERYWHERE and heavily. I always say the more distressed the better. IE The Corners,the sides anywhere with detail and ESPECIALLY the fronts of the drawers. It makes it look really cool behind the napkins.
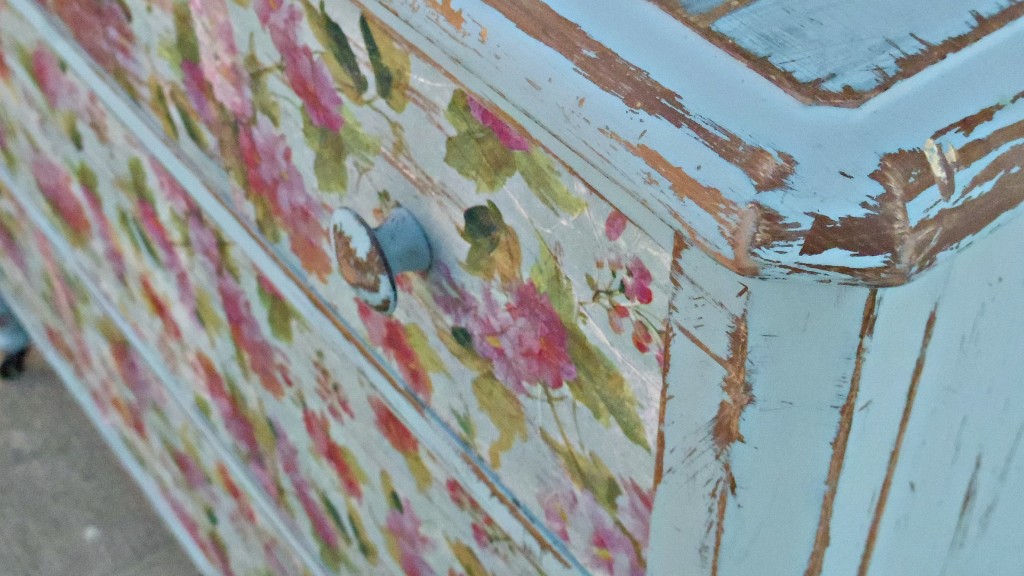
- Wax the entire unit. EXCEPT THE DRAWERS leave the drawers raw they take the modge podge better.
- While your wax is curing now it’s time for the fun part adding the napkins. I used THIS TUTORIAL from Sweet Pickins Furniture to apply the napkins. It’s so easy and turns out so pretty.
- That’s IT!! NOw you just have to put everything back together and enjoy your new beautifully finished piece of furniture.
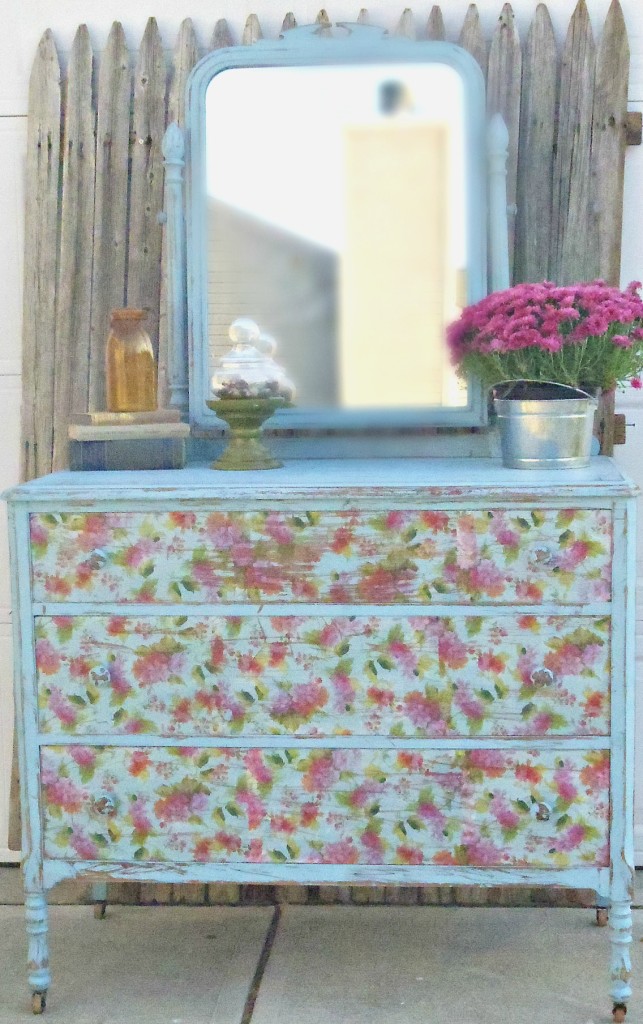
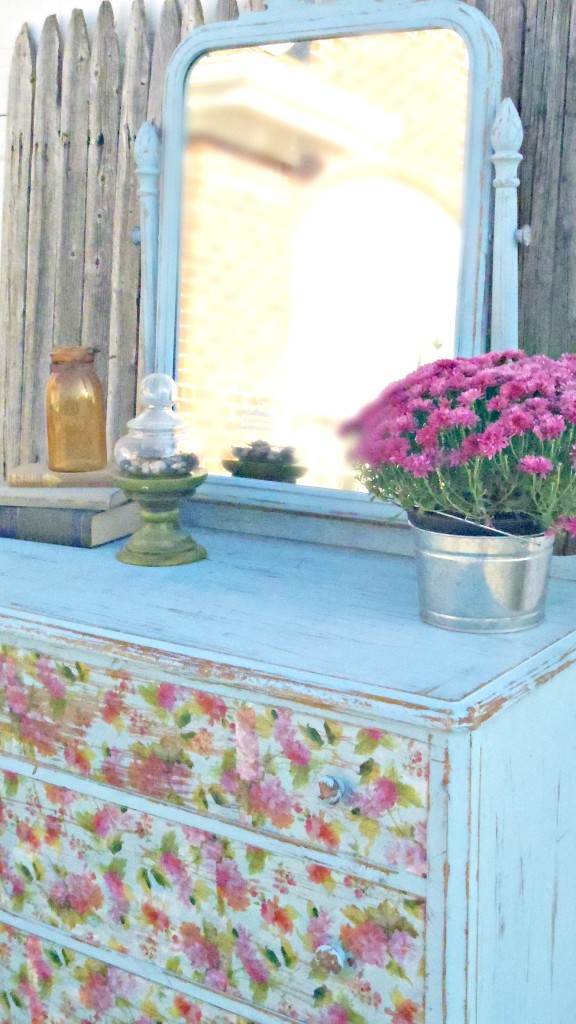
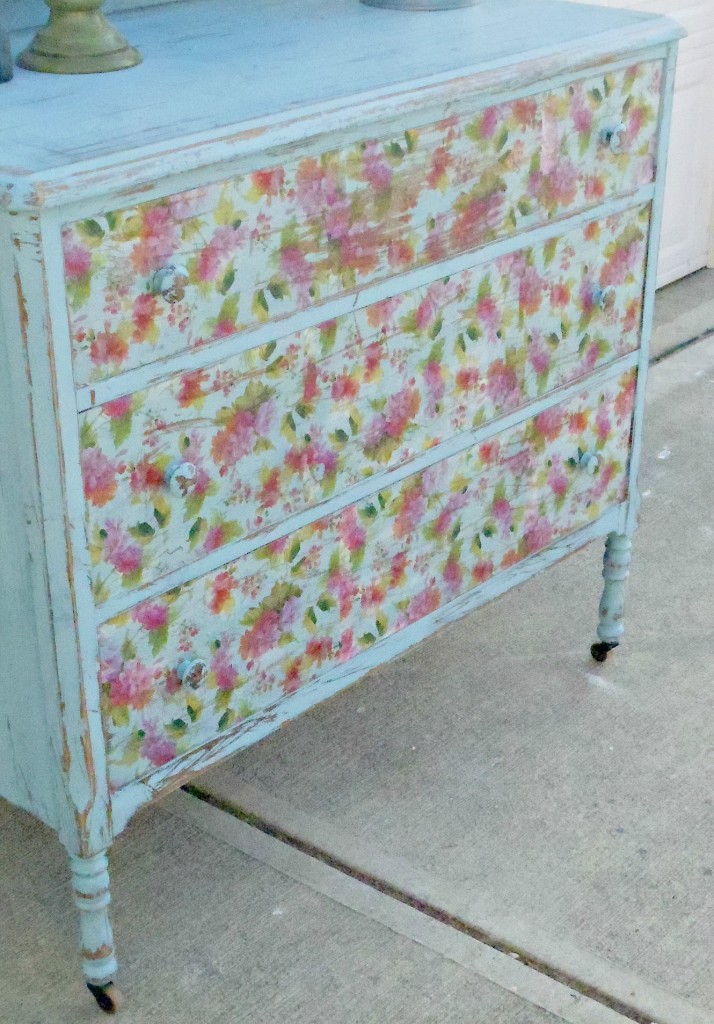
I LOVE IT The pictures really don’t do it justice. I can’t wait to display this beauty in the house when Its home is ready. Thank you guys so much for stopping by and don’t forget to check out all of the other amazing projects below!
[inlinkz_linkup id=570529 mode=1]


Erin
10/08/2015 at 7:37 AM (10 years ago)Stunning! The colours and the pattern – it looks like it was meant to be this way all along 🙂 Great job!
stacey
10/12/2015 at 11:46 AM (10 years ago)I know! I thought the exact same thing when it was finished, I couldn’t have imagined it would look so pretty. Thank you for commenting Erin!
Tammy
10/08/2015 at 1:10 PM (10 years ago)Love this what a great idea using the napkins…such a greeat look to a great shabby piece.
stacey
10/12/2015 at 11:45 AM (10 years ago)Thank you Tammy!
Kim Hunt & Host
10/08/2015 at 1:11 PM (10 years ago)I have a project like this on my to do list. I adore the look that these simple little napkins give. it is stunning!!! Great job!
stacey
10/12/2015 at 11:43 AM (10 years ago)Thank you so much, as soon as you do it you’ll be amazed at the results.
Laughing Abi
10/08/2015 at 1:29 PM (10 years ago)Beautiful job. And that wax buffing brush is on my must-have list!
Stacy @ Anastasia Vintage
10/08/2015 at 1:49 PM (10 years ago)This turned out so well, Stacey! I’d be nervous to try decoupage with napkins, but I like your results so much, I just might give it a try 🙂
stacey
10/12/2015 at 11:42 AM (10 years ago)Oh you should! It’s so easy and turns out so lovely. Thank you for taking the time to drop by!
Lynn
10/08/2015 at 7:28 PM (10 years ago)Nicely done. I love working with the napkins to decoupage. This looks so very lovely!!
stacey
10/12/2015 at 11:41 AM (10 years ago)Thank you so much Lynn, the napkins definitely added a special touch. I’m so pleased you like it.
Melody
10/09/2015 at 1:42 AM (10 years ago)Thank you for sharing this lovely dresser! I love the color and have a question for you. I’ve never used that paint brand and wondered do you need to prime? Or is is like any other chalky finish paint you don’t have to sand or prime?
stacey
10/12/2015 at 11:40 AM (10 years ago)HI Melody! The dutch Boy Chalky Finish paint, in my opinion, is honestly up there with Annie Sloan for a fraction of the price. I have been more than impressed with it. Theres no Priming or sanding and it distresses beautifully. Thank you for stopping by!
Kimm at Reinvented
10/09/2015 at 8:34 PM (10 years ago)So so pretty! I’m going to have to give mod podge with napkins a try, I love the look! Great job!
stacey
10/12/2015 at 11:36 AM (10 years ago)Thank you so much Kimm! It so easy and and makes everything so pretty. Thank you for taking the time to comment. Have a lovely day!
Megan @ C'mon Get Crafty
10/12/2015 at 9:32 PM (10 years ago)Stacey, this is sooo pretty! Napkins!? Girl, you amaze me with your craftiness. I could so see this as a shabby chic stunner in a guest room! #furniturerefresh
Helen at No Experience Whatsoever
07/12/2018 at 6:27 PM (7 years ago)Good jog, girl! Who’d a thunk it. FYI, for us literal folks, you don’t say so, but mentioning the ply leads me to believe you refer to paper napkins? Also, the waxing brush. Do you use this by hand? It sorta. Looks like it might go on a drill. Also, thanks for the paint and materials recommendations. Saves us all from try and fail expense. lastly, does anyone have a suggestion for “refreshing” a dresser with a melamine top?
Thanks so much.