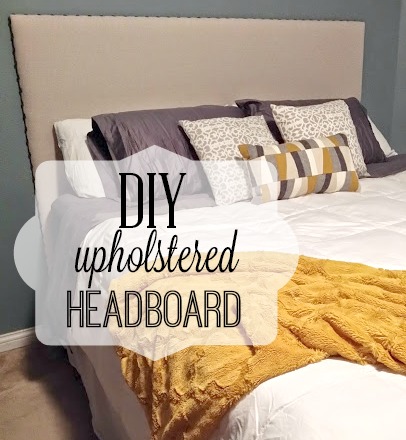
We have been neglecting our bedroom for entirely too long. I’m not kidding, it looked like it belonged in a frat house. It was so bad I won’t even show you before pictures (plus I forgot to take them). Thank Goodness BLACK+DECKER launched their “Your Big Finish” campaign or we’d still be sleeping on an air mattress next to a pile of dirty socks. LOL. This DIY Upholstered Headboard made our room look so luxurious. I LOVE IT!
Disclosure: Thanks so much to BLACK+DECKER for sponsoring this post. We’re so excited to be able to team with such an awesome company that inspired us to get things done. All the statements and opinions in this post are our own.
So now that that’s out of the way.
What is the “Your Big Finish” campaign you ask?? Well my friends, It’s this super cool contest that’s meant to inspire everyone to get things done!
BLACK+DECKER has launched a movement to get all the unfinished home projects moving again. Join them for the opportunity to win $10,000 cash and products. Plus, they might put you and your finished project on a billboard right in the middle of Times Square. So while your family may never notice that you finished hanging the crown molding, millions of others will!
For this campaign, there are Weekly Prizes, at approximately $439.91 per prize, and one Grand Prize of $10,000.
To enter, click the picture below, and enter your First Name, Last Initial, Email, City, State, Phone and upload a photo of yourself and your completed project!
Please note, the contest ends December 28th, 2014.
Pretty cool huh?? So now On to how we put together this super simple and Super CHEAP Headboard.
What you’ll need:
(all of our measurements are for a King size bed)
- 4’x8′ Sheet of plywood
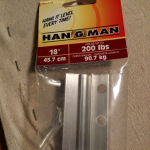
- 2 French Cleats We used This One
- Heavy duty staple gun
- Staples
- Foam We used this 1″x27″x76″ roll
- we also had to purchase another 1″x15″x76″ roll
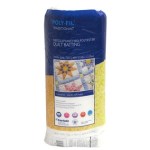
- 2 Rolls of Batting
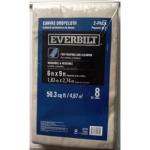
- 6ftx9ft Painters Drop Cloth
- Spray Adhesive (any brand will work)
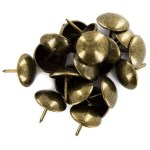
- Upholstery nails (80 nails was exactly enough for a king size headboard)
- Hammer
- Pliers
The how to of it all:
The basic size for a King size mattress is 76″ Inches this is the measurement we used to mark and cut our plywood to size. A 4’x8′ Piece of plywood is 48″ wide and 96″ long. Using a Jig saw we cut off 20″ to make it 76″ Long, and kept the width 48″.
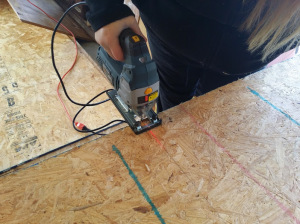
This was the easiest way to do it. I could have made it all fancy and curvy and such but I like the clean lines.
After the plywood was cut we cleaned it off and moved on to laying our 1″ foam. We dry fit the foam pieces first to make sure everything fit properly. Once all the foam was cut to size we sprayed the entire piece of plywood with spray adhesive and layed our foam.
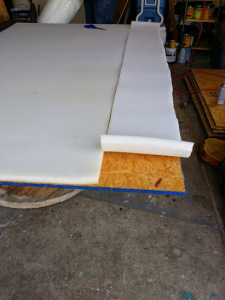
Next, we sprayed more adhesive on top of the foam and added the first layer of batting. when that was on and secured we sprayed more adhesive and put on a second layer of batting. This step is totally optional, I just wanted to be sure the headboard looked nice and full.
Once the batting is on with adhesive, we trimmed all of the access off then stappled it to the plywood. Be sure once you get one side fastened to pull the batting TIGHT. This will make your headboard look nice and smooth.
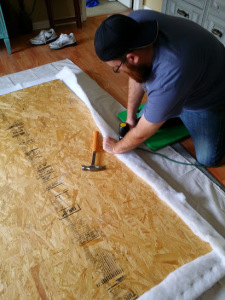
After the batting was secure we layed the Headboard down on the stretched out piece of painters cloth, and trimmed off all the excess. The reason we trim down the excess is to keep the corners clean. If you have too much fabric it’s really hard to make your corners look nice.
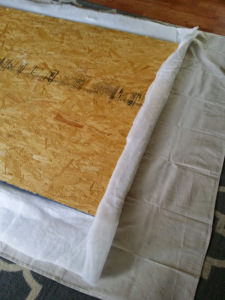
*** I would recommend Ironing your painters cloth before stapling it to your headboard**** We were lucky enough most of the wrinkles came out when we stretched the fabric as we were stapling it. PHEW.
NOw to the fun part! I just eyeballed how close I wanted the upholstery nails I think they’re about an inch or so apart. Once I got 2 nails in and liked where they were, I made a template with a piece of cardboard. I could then just mark where they go and Hammer away.
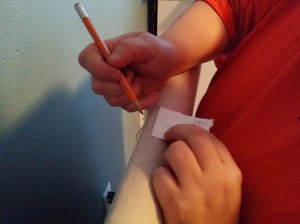
Now that all the Upholstery nails were in it was time to hang it. We opted to use 2 french cleats. With the headboard being so wide and also the fact that we’d like to lean on it to read or watch TV, this seemed the most logical way to hang it.
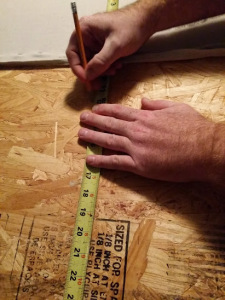
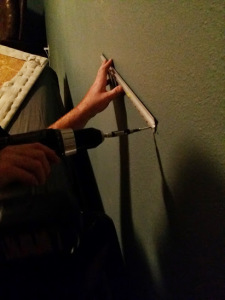
The cleats were really easy to install you just have to measure properly and follow the instructions. They even came with a super cute little mini level so you can hang them straigt! After the cleats are hung hang your headboard and You’re DONE!!
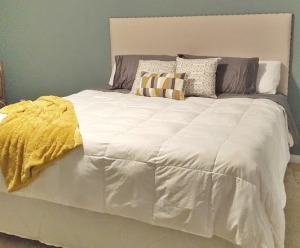
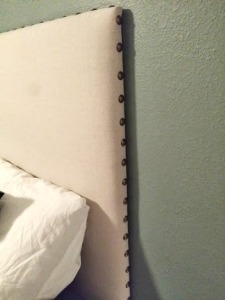
I know! I couldn’t believe how easy it was either!This project only took us about 4 hours total and cost us about 60.00. Have you seen these headboards in stores?? The average cost is about 400.00 for a king. So cool, I love saving money!!
Now it’s your turn to finish a project you’ve been putting off and when you’re done be sure to enter it in the BLACK+DECKER “Your Big Finish” Contest. Or just check out all the Great projects that have been linked up in the Finished Project Gallery.
You can Enter HERE or just click the picture Below.
I look forward to seeing everyones finished projects!
Thanks for stopping by!

6 Comments on DIY Upholstered Headboard
1Pingbacks & Trackbacks on DIY Upholstered Headboard
-
[…] That, my friends, was pretty awesome. We also entered our projects in the contest and BOTH Our DIY Upholstered Headboard and our IKEA Rast HACK were featured on a billboard in times square!! I know super cool right??!?? […]


Laura Irion // Avery Street Design
11/20/2014 at 10:53 AM (10 years ago)This looks so great! I love the nailheads, and you really pulled it off beautifully!! I’m stopping by from the Sweet Bella Roos party. 🙂 I’d love to have you link this up with the Found & Foraged party this Saturday. It starts at 8 pm at http://www.averystreetdesign.com. Hope to see you!
Sarah @ Little Red Brick House
11/20/2014 at 11:50 PM (10 years ago)Oh, Stacey! This is too good. You did a fantastic job. I have been dying to create something upholstered with nail heads. Come make me one, pleeeeease!
stacey
11/21/2014 at 3:07 AM (10 years ago)Thank you Sarah! It was so much easier than I thought. You should give it a try, I think you’d be pleasantly surprised with the results. Ori can just come make you one. Lol!
Julie
11/21/2014 at 7:25 AM (10 years ago)This came out so nice! I love the way upholstered headboards look. It makes everything look so polished and nice. We have a metal framed bed with sort of a metal head board so I can’t have one myself but I always love the way they look
Kyla @HouseOfHipsters
11/22/2014 at 5:33 PM (10 years ago)Fantastic tutorial! Thanks for sharing! I also wanted to give you a heads up that tonight, Saturday night, at 8PM, there’s an all new linky party in town called Found & Foraged. We debuted last week and would love for you to join in the fun! You can find us at http://houseofhipsters.com/