
What do you do when you have no budget for new flooring and you absoulutely CANNOT have carpet in your craft room? Well you paint your concrete floor of course! So it honestly was like the clouds opening up when I was contacted by Cutting Edge Stencils to review their new IKAT Zig Zag stencil. If any of you follow me on social Media Particularly INSTAGRAM you know we’ve been hinting around to this for a while. I just never thought It would turn out this AWESOME!
*This post Contains affiliate links for your convenience*
First:
We removed all of the carpet from the room.
-
This incldues the tack strips and Padding
We were lucky, our contractor didn’t glue our carpet pad down, so we didn’t have any extra steps to remove that. If you are not so lucky you can follow this Tutorial HERE Mandy explains exactly what to do to get that pesky glue up.
Second:
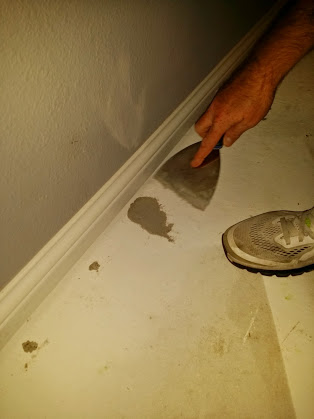
We filled all the holes left by the tack strips that held the carpet down. Using this Ready mixed Concrete patch. We applied it with a metal spatula.
MAKE THIS AS SMOOTH AS POSSIBLE DURING THIS STAGE!!!! If you don’t you’ll have a TON of sanding to do we learned this the hard way Take my word for it!
Third:
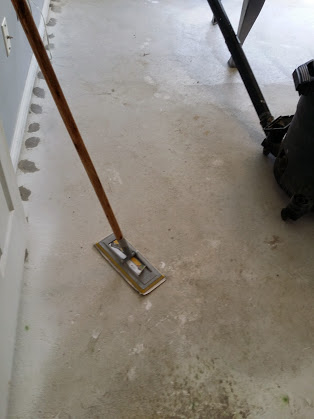
After letting the patchwork dry for 48hrs. We sanded the floor,and sanded and sanded and sanded. LOL. We probably went a bit over board on this part but I just wanted to make sure it was right.
- Sanding pole
- Sandpaper (This was for Drywall but It worked just fine for the patches. I just found the lowest grit of paper 80)
Fourth:
When we were FINALLY done with the sanding it was time to get the shop-vac out. This is an extremely important step! It is critical to get all the debris up and off the floor so your paint looks smooth and pretty.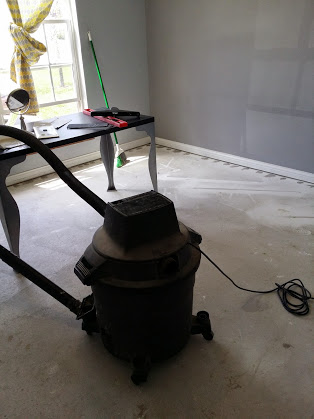
Fifth:
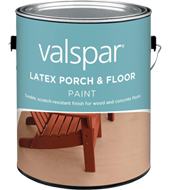
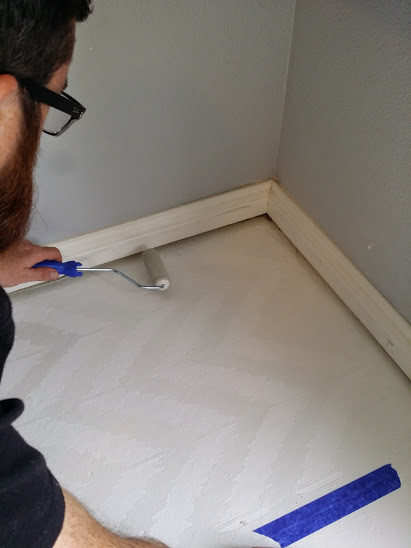
NOw it’s time for the paint. We just used a Valspar laytex exterior/interior floor paint from Lowe’s
-
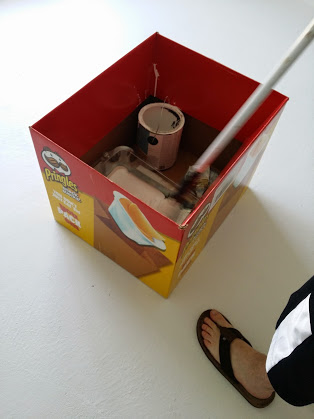
We put the can and our paint tray inside a large box so we wouldn’t spill any on the floor and try and contain any messes.
-
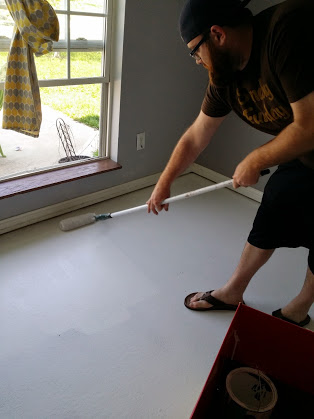
We then just rolled it on. It took 2 coats but 1 Gallon was perfect for our 11’x12′ room.
Sixth:
This is where all the fun happens!
After letting the floor dry for about 4 days(just to be sure) It was time to STENCIL!! You Guys This was literally the easiest thing I’ve ever done. It honestly only took us an Hour and a Half to do the WHOLE FLOOR. How awesome is that??? The stencil is super High quality and they also sent a smaller one that helped us getup next to the baseboards to finish the pattern. So awesome.
SUPPLIES
-
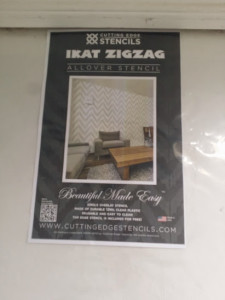
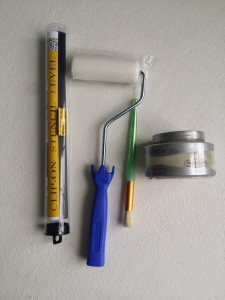
Stencil and Stencil kit ( I highly Recommend the Stencil kit it comes with everything you’ll possibly need at a super affordable price)
-
Watch the Instructional Video
-
Cutting Edge Stencils Has a Ton of instructional videos on their site and they really do have some very helpful hints.
-
-
Choose Contrasting Paint Color.
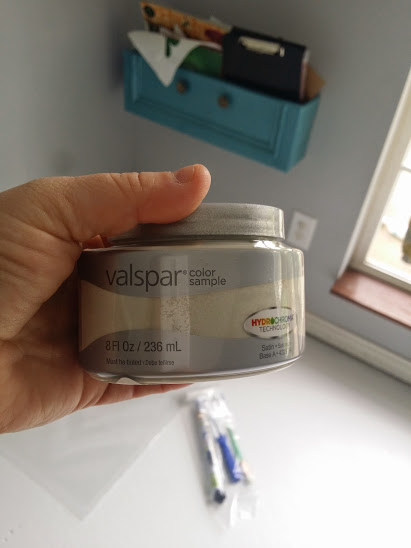
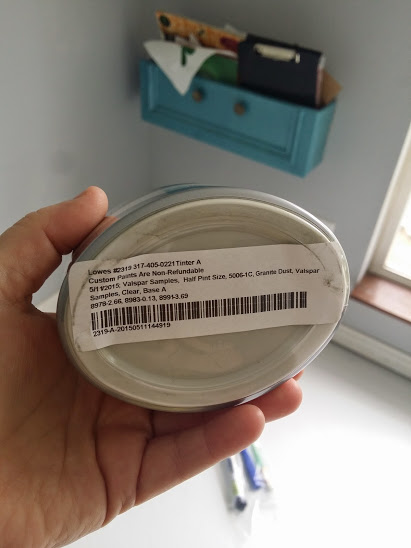
We chose to use Valspar laytex interior paint in Granite Dust( Side Note please keep your wall color in consideration when choosing this contrasting color. We didn’t and subsequently ended up having to paint our walls a different color. The grays didn’t match and it was more than noticeable.) It took 2 Sample sizes to comlete the whole room.
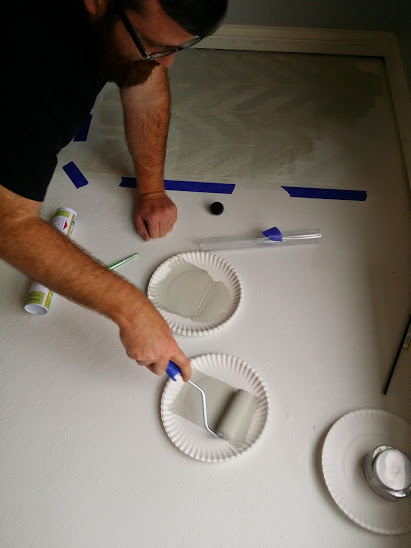
4.Painters tape, Paper towel/paper plates,and a measuring tape.
-
Since this was on the floor the stencil level couldn’t be used, so we had to use a measuring tape to make sure the first stencil we did was perfect. This is vital to making sure your room doesn’t end up looking like a fun house.
Time To Paint
Ok so after you have gathered all of your supplies and watched all of your videos it’s time to Stencil your floor!
SO EASY you just pick the stencil up and line the pattern back up re-press your tape down and go.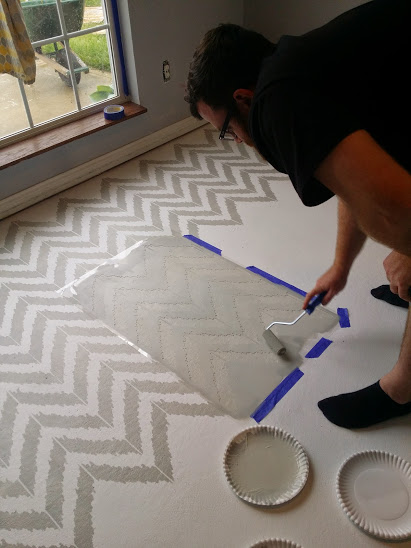
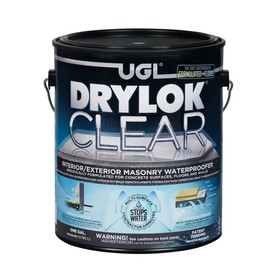
After we were done stenciling we then put a top coat over the entire floor. We did this to protect all of our hard work. I also use a rolling chair and I just know it would make a mess of it. Plus it will make it so much easier to clean. We used DRYLOK Waterproofer and sealer.
After that we let it dry for 48 hours and we were done! So Simple I’m thinking we’ll do it to the back patio next. Just don’t tell the Beard LOL. Now for the finished product.

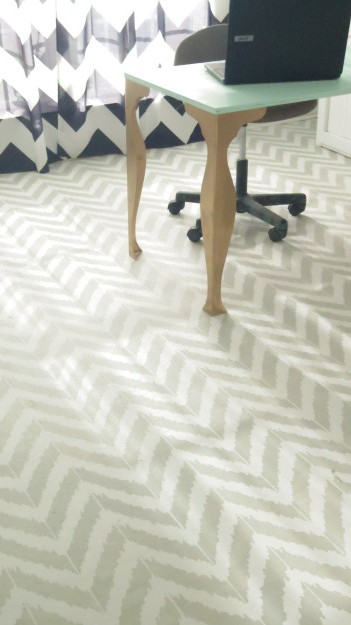
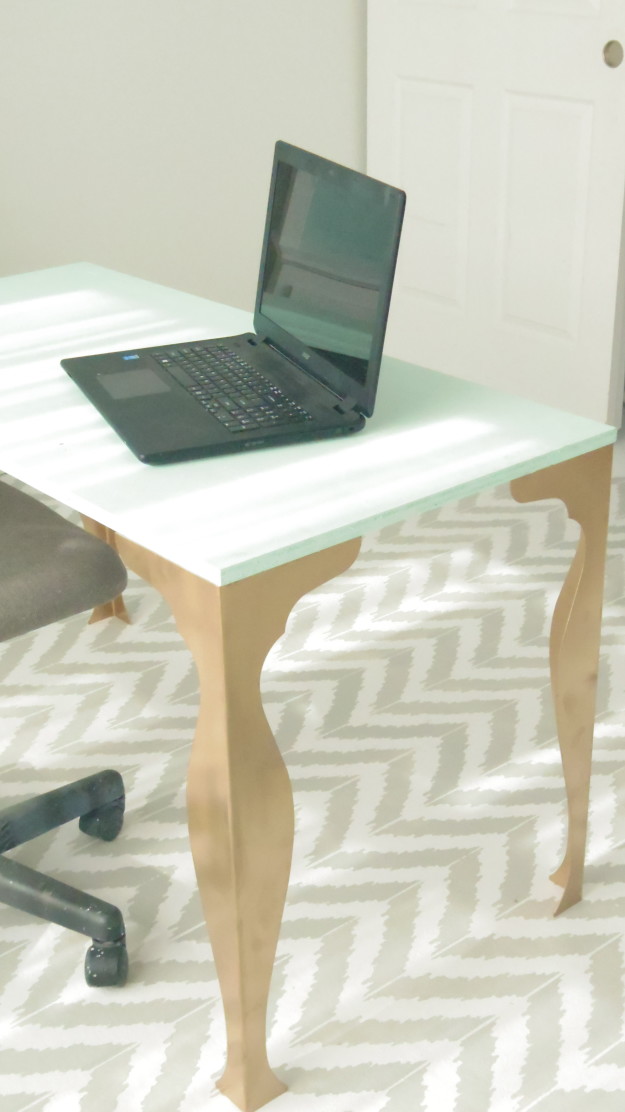
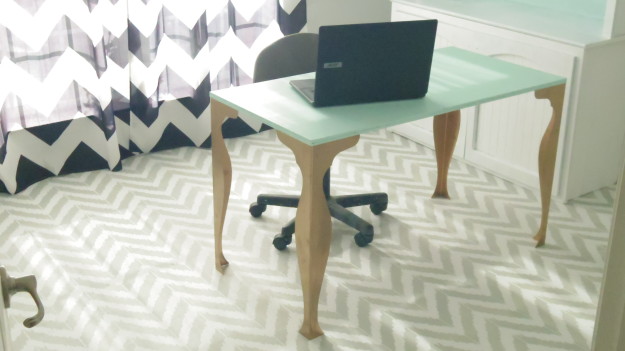
I honestly can’t figure out why I haven’t used their stencils before. The possibilities are literally endless.
Giveaway Closed
WINNER!!!! :
Chelsea Farnsworth
16 Comments on How to Paint and Stencil A Concrete Floor
1Pingbacks & Trackbacks on How to Paint and Stencil A Concrete Floor
-
[…] Concrete Floor Stencil Project […]


Wendy
05/20/2015 at 8:09 AM (10 years ago)This is a great project!
Carol Easterday
05/20/2015 at 5:30 PM (10 years ago)I love how beautiful your room turned out! I love the Zinna Grande flower stencil for an accent wall for my bedroom
Alli
05/21/2015 at 9:30 AM (10 years ago)Looks incredible!! Great Job!
Emily @ Table & Hearth
05/21/2015 at 10:25 AM (10 years ago)Wow! It looks like a whole rug and is just the perfect accent 🙂 I can’t believe it only took you guys a couple of hours to stencil all of that!
stacey
05/21/2015 at 11:57 AM (10 years ago)I know I really didn’t expect it to be as easy as it was. I think the size and quality of the stencil helped. I want to stencil everything now. LOL
Chelsea Farnsworth
05/21/2015 at 11:46 AM (10 years ago)Beautiful work!!
Carrie @ Kenarry: Ideas for the Home
05/21/2015 at 11:20 PM (10 years ago)Oh my, Stacy! What a creative idea to paint your floor. This is seriously the coolest. Definitely pinning and sharing.
keitha the bajan texan
05/22/2015 at 9:57 AM (10 years ago)How crazy is this! i have been wanting to paint my patio and this post is perfect! thank you so much for sharing on Pin Worthy Wednesday!
Susie
05/22/2015 at 11:34 AM (10 years ago)Beautiful! I would love to stencil a floor with the Charlotte allover stencil.
Susie
05/22/2015 at 11:39 AM (10 years ago)Beautiful! I would love to do a floor with the Charlotte allover stencil.
Laurie
05/22/2015 at 11:45 AM (10 years ago)That turned out gorgeous. I’m sharing this (and your pretty Spring porch) on Friday Faves today. Thank you for all of the inspiration.
Erica
05/22/2015 at 12:46 PM (10 years ago)This is crazy AMAZING! Holy cannoli. What a transformation! I would totally be terrified to do a floor but you made it look easy! 🙂
Rosie Walsh
05/24/2015 at 6:35 AM (10 years ago)I’m in love with the stencil you chose. Want to do this in my computer room. Like the Ikat better than any I’ve seen.
Beth Robinson
05/24/2015 at 5:42 PM (10 years ago)I’ve been hankering on the Indian inlay stencil for some furniture when I came across this. I’d love to have the courage to tackle a full floor but my wooden floors will take an enormous amount of prep before I could even begin
Sarah @ Little Red Brick House
06/18/2015 at 8:53 PM (10 years ago)This looks FABULOUS, Stacey! I love the stencil you chose. This really has my wheels turning. I just have to stencil the floors somewhere in my house now!!! Just gorgeous!