I’ve been beating myself up for weeks trying to decide what my first post on my very first blog was going to be. I kept trying to do some big fancy post to say HERE I AM!! But quite honestly this project is pretty much everything I’d like this blog to be about. It’s cheap, pretty,classy, and easy!! Actually that kinda describes me. Well minus the EASY part. Ha! Enough of me Babbling lets get on with it!!
** This post contains affiliate links for your convenience, If you decide to purchase something I will get a small comission at no expense to you. It’s how we keep Addison Meadows Lane running :). For my full disclosure click HERE**
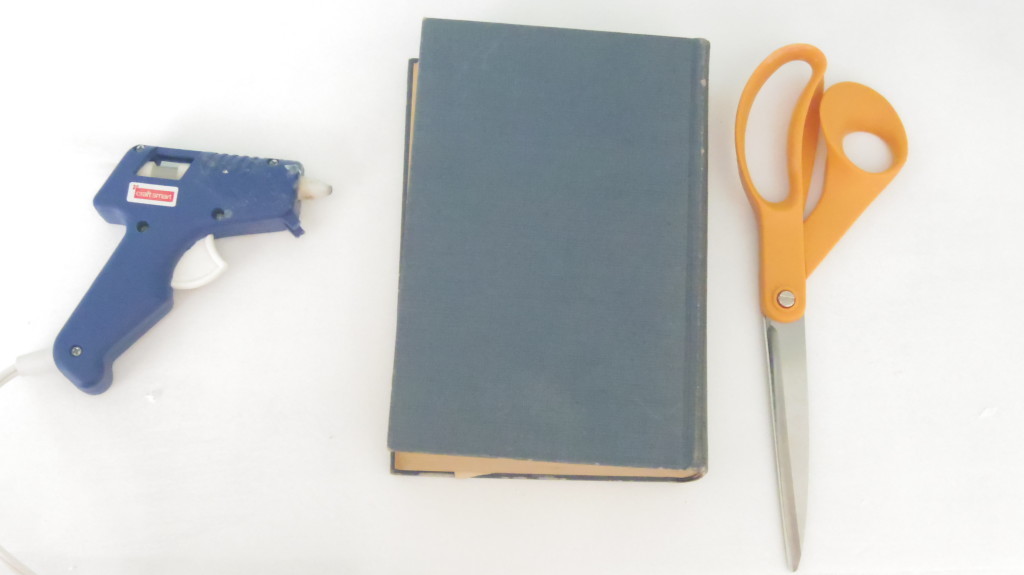
What you’ll Need
- A Glue Gun. (Glewbacca Is the name of my glue gun so if you see me type that, a glue gun is what I’m referring to. )
- An Old Book (preferably one with yellowed pages I think those look the best
 .)
.)
- An inexpensive frame of any size. (Mine was on clearance for 3.50 at Michale’s because the glass was broken. Which was just fine for this project)
- Old serving spoons (I got mine from a garage sale for .10)
- A Glue Stick
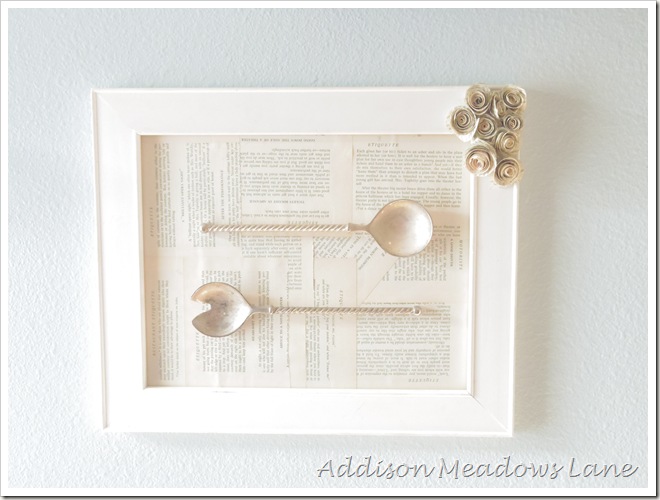
This is literally the easiest thing I’ve ever done, but surprisingly one of the things in my house I get the most compliments on. Funny how that works.
- Remove the cardboard backing of the picture frame, and take out the fake family or generic scenery picture, discard.
- Rip out about six or seven pages from your old yellowy book. How many you rip out depends totally on the size of your picture frame and your book.
- Once you’ve ripped those out start gluing the pages on to the cardboard the picture frame came with, In any pattern you choose.
- Then take your serving spoons and using your glewbacca put glue on each end of the serving spoon then press down to the background you just created with your book pages.

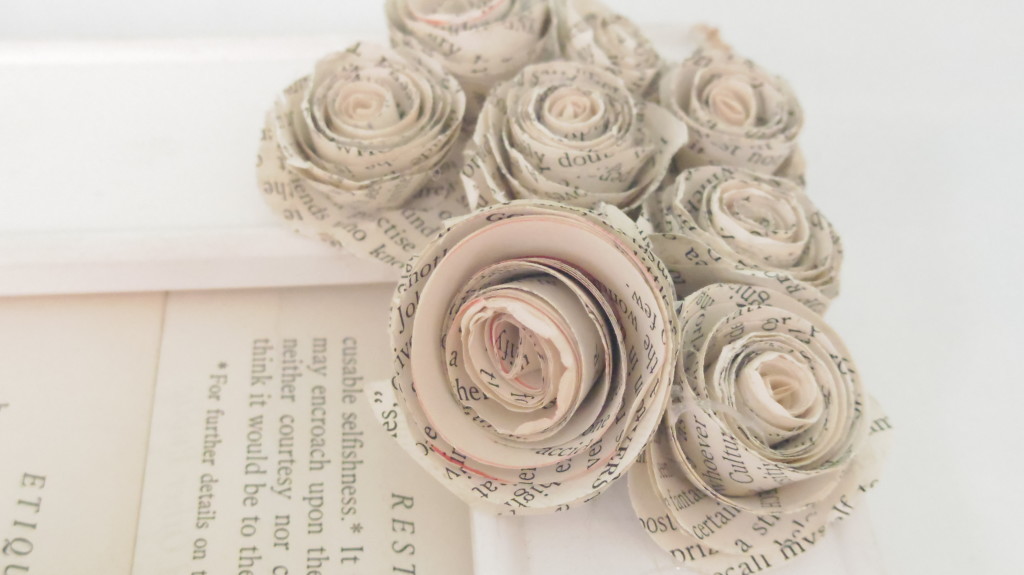
- For the sweet little rosettes on the corner of the frame I followed this tutorial here.
- Let everything dry for a bit before attempting to hang, I mention this because if you’re anything like me you hang it right away it looks good for about 2 seconds then everything falls off.
I hope this easy wall art makes you as happy as it did me if you have any questions drop me a comment and I will do my best to answer.
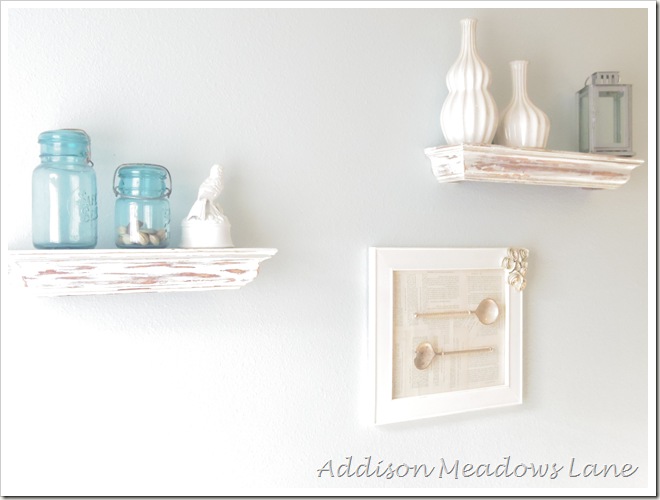
And now to show her off!
8 Comments on DIY Cheap and Easy Wall Art
1Pingbacks & Trackbacks on DIY Cheap and Easy Wall Art
-
[…] wall art for 4 dollars via addison meadows lane […]


Nan
02/28/2013 at 12:55 AM (12 years ago)Amazing!
Kassandra
04/12/2013 at 4:32 PM (12 years ago)This is so cute!
stacey
04/12/2013 at 5:48 PM (12 years ago)Thank you so much! I appreciate you stopping by. 🙂
penny
01/04/2015 at 2:21 PM (10 years ago)This is a very cool project. So pretty. What type glue did you use to attach the pages to the cardboard? White glue would make the pages ripple and hot glue would be lumpy.
stacey
01/04/2015 at 6:12 PM (10 years ago)Great question! I actually just used a plain old glue sick to attach it to the cardboard.
Ann
01/04/2015 at 6:11 PM (10 years ago)Wonderful!
Lynne
01/05/2015 at 3:14 PM (10 years ago)Adorable! Crafty and clever…and something I think I would like to have hanging in my own home. Looking forward to more of your great ideas!