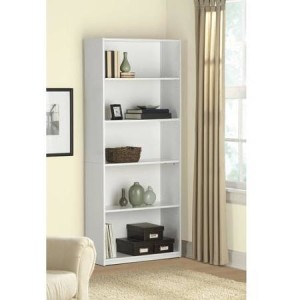
If you’ve been hanging out with us the past few months you know we finally finished Our DIY Pallet Wood Fireplace. It’s honestly my favorite thing in life. I still can’t believe it’s my house when I walk in. I know that sounds extreme but it’s just exactly what I wanted. We started the whole project with the main Fireplace, that part went pretty smoothly and cost us only about 100.00 (Not including the fireplace insert). Then It came time to add the DIY Custom built-in shelves to each side. GUYS. This was not easy. I originally just thought oh yeah we’ll just buy a bookshelves in a box and attach them to the fireplace. Well, I thought wrong….Our ceilings are vaulted and the regular 72″ shelves I purchased from Wal-mart looked absolutely ridiculous. Case and Point
HAHAHA. I still don’t know what I was thinking. So back to the drawing board I went. Everything I found that would be tall enough, available to me, and not require me to drive 2 hours to IKEA was WAY to expensive. I’m talking 400 a shelf….ERM NOt in my budget at all. SO I made the best of what I had. ***This list contains affiliate links for your convenience**
Supply List:
- 2 Sheets of MDF The size of your MDF will vary to the Size of the base cabinet you purchase.
- 3 Sticks of 1/4 round trim. this is to cover any gaps along the bottom of your shelf or where the MDF buts up to the wall.
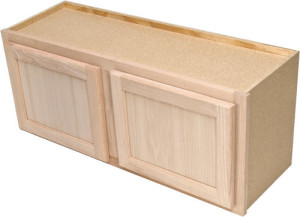
- 2 Upper Kitchen Cabinets to use for your bases. If you aren’t lucky enough to find then at Habitat or some other upcycle place you can purchase new ones at your local Hardware store. These are the cheapest I’ve found
- White Paint
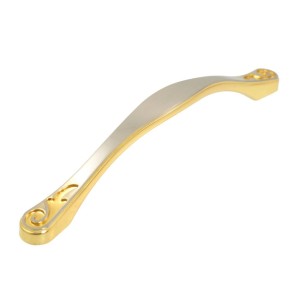
- Door Hardware
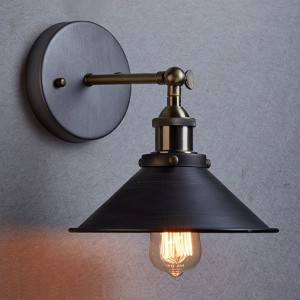
- Decorative lights
Tool List:
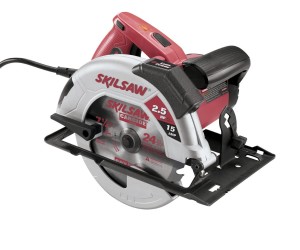
- Circular saw We use This one
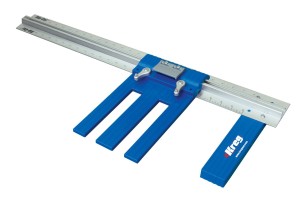
- Kregg Jig Rip cut guide. This thing is amazing! It completely eliminates the need for a table saw. We use it all the time
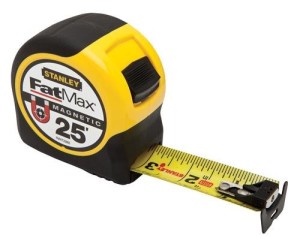
-
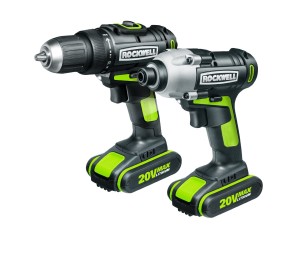
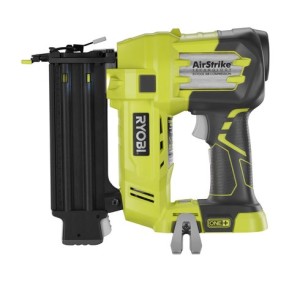
- Impact Driver and Drill We use THESE
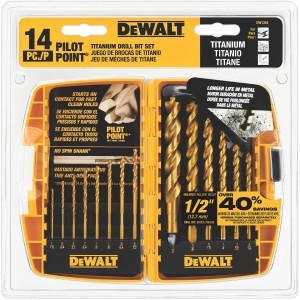
- Drill Bits This is the set we have-
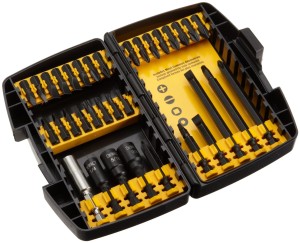
- Misc Bits for screws This is the set we have.
The How To Of It All:
-To shore the Book shelf up we marked and cut the decorative paneling to fit the back instead of using the cheap flimsy stuff they include with the shelf. It made a huge difference and looked much better.
– I had to figure out how to add some Height. I had an A-HA! Moment when I was cruising through Facebook and Saw a sponsored post from our Local Habitat for Humanity. They had posted something about donating old kitchen cabinets instead of tossing them. There was a photo of cabinets and I saw an Upper cabinet that would go above your Fridge or sink, it looked like the perfect size to fit under my super short and flimsy out of the box bookshelf. So Off I went and low and behold they had 2 upper cabinets just waiting on me. BONUS! They were only 10 bucks a piece, WOOT!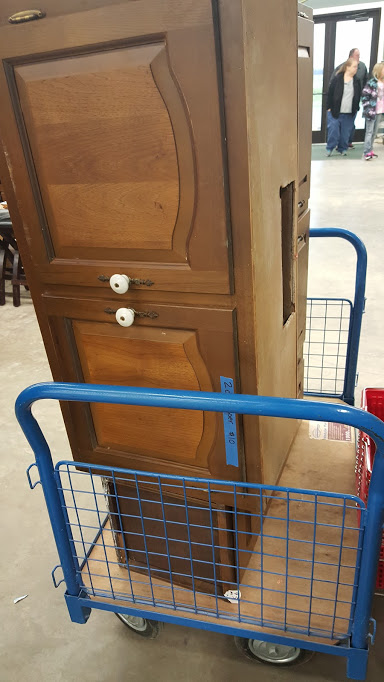 Be sure to measure them. The front doors can be different as long as the sizes of the boxes are exactly the same. It’s super easy to build doors or if you’re like me I don’t really care if the doors aren’t exactly the same adds character.
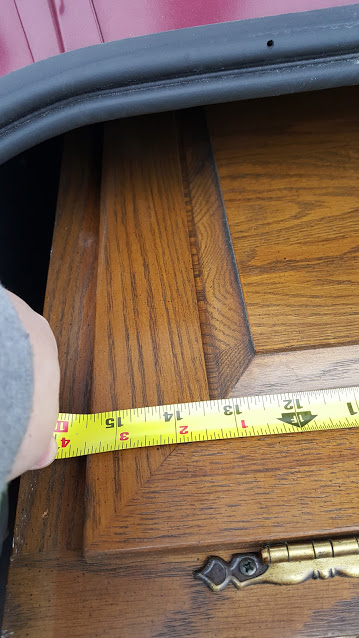
-After I found the correct cabinets we took them home cut a piece of 1/2″ plywood to the exact size of the cabinet then screwed it into the top of the cabinet. This is to mount the bookshelf to.
-We then set the cabinet on the floor and screwed the cabinet into the side of the fireplace.
-We set the bookshelf on top to dry fit it and see where our cleats needed to go that we’d be attaching the door casing to. We marked where the bookshelf needed to go when we set it back on the cabinet and removed it.
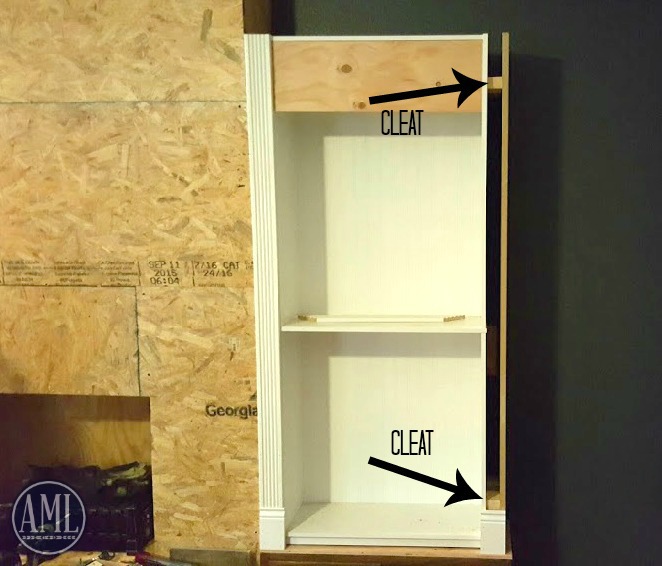
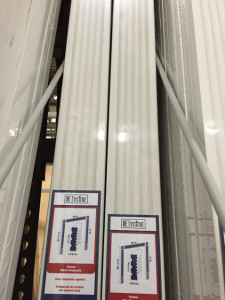
-Using the Miter saw I cut 8- 2 and 1/2″ pieces of 2x4s for the cleats.We then mounted 4 cleats to the side of the fireplace(be sure to mount the front cleats flush with the fireplace and bookshelf so you can easily attach the casing) and put the shelf back up on top of the cabinet. We secured the shelf to the 4 cleats and to the top of the base cabinet.
-After attaching the inside cleats we attached the outside cleats: 2-to the bookshelf and wall, then 2 flush with the front of the bookshelf. We then took one of the pieces of MDF and mounted it to the outside cleats. If you haven’t figured it out yet we’re in essence making a shell around the original bookshelf to match the base cabinet.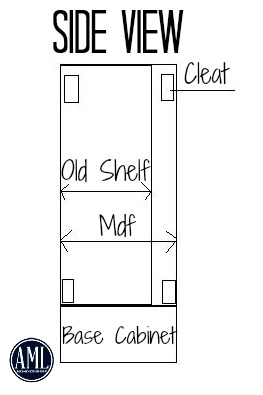
-THIS STEP IS OPTIONAL YOU DO NOT HAVE TO ADD A LIGHT. I added a piece of Plywood to the top of the bookshelves to hold the lights. It’s technically the top shelf of the book shelf and we just covered it up. Drill a hole through the very middle of the plywood for your wire and also a hole through the shelf and into the side of the fireplace to connect to the switch and plug. ******* I am NOT an electrician. I do have electrical knowledge and used it to make my lights work. I will not be showing you how I wired my lights because I do not want to be liable for your safety. That being said you can always take your lamps to be wired into a plug and just plug them in. it doesn’t cost much at all.*****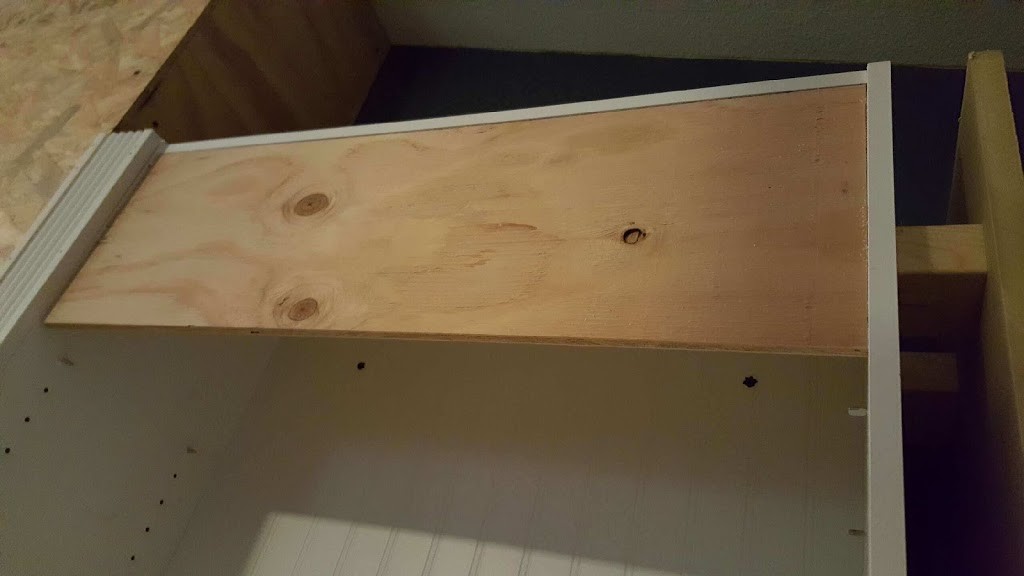
-After mounting the light and running the wire we finished up the rest of the trim. So PRETTY!! I love these shelves and it makes them even better knowing that we built them. Not to mention they cost us a 1/4 the price of pre made shelves. Ya’ll know how much I love saving money!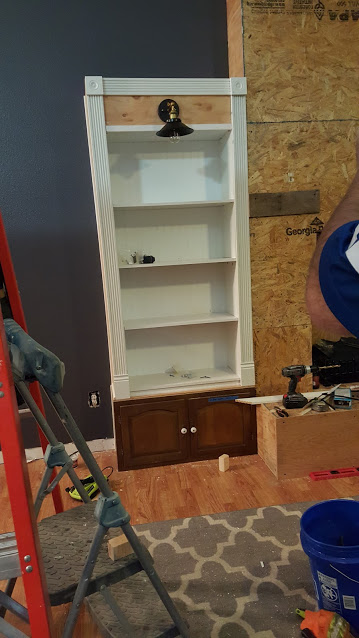
-When all of the trim work was done I took the cabinet doors off and painted the base cabinet white to match the rest. 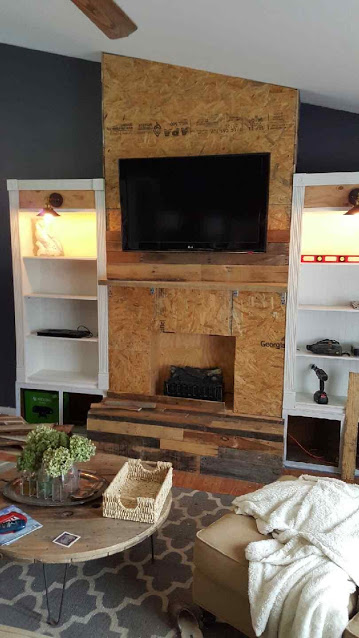
-Once the doors where dry I added the new hardware and put everything back together.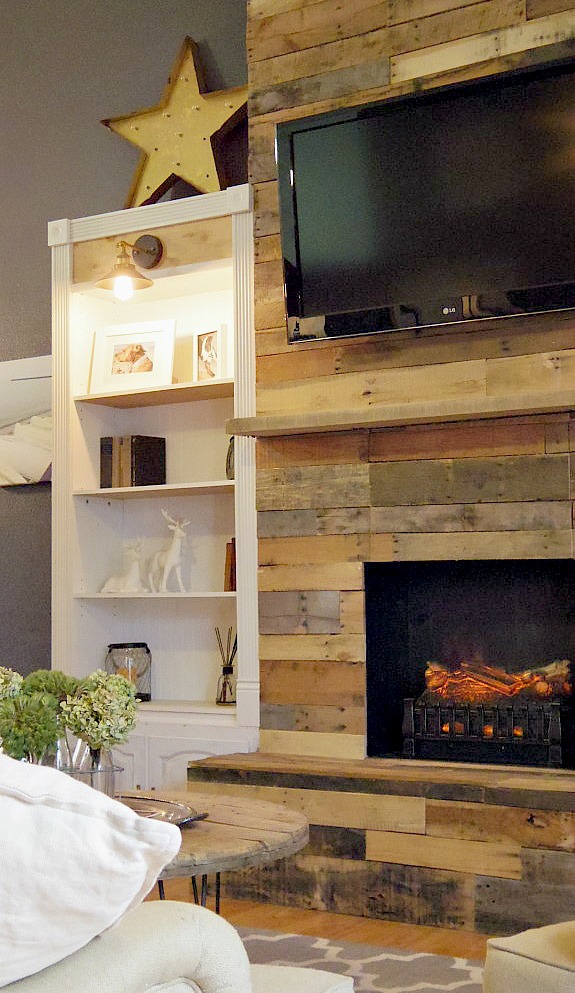
- I still haven’t decided what I’m doing behind the lights. I’m torn between adding a decorative metal sheeting or just painting it white. Maybe ya’ll can give me some ideas!
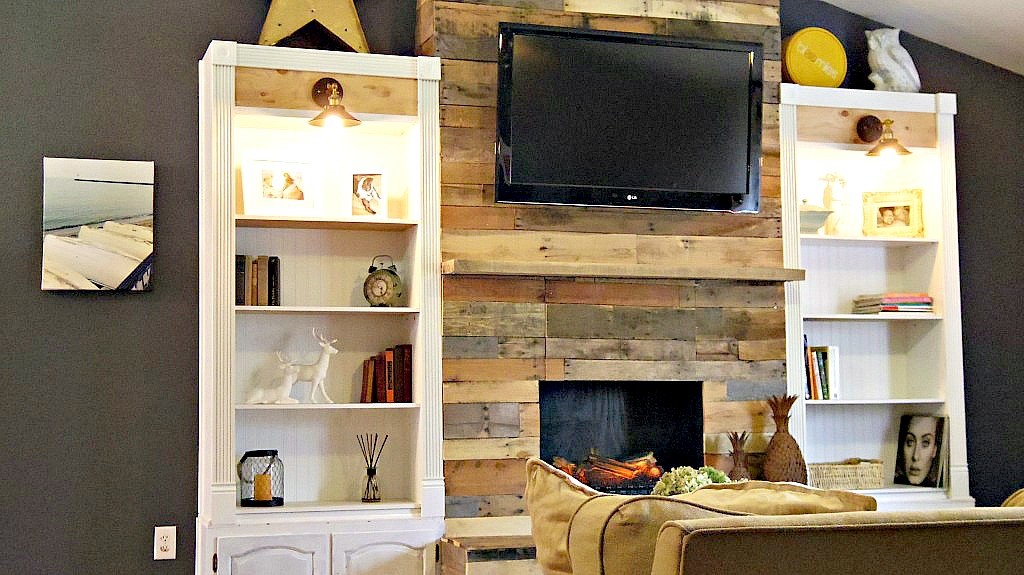
I know this is a huge post and possibly the most difficult one I’ve done, but I wanted to pass on the knowledge that you don’t have to spend $1000.00 to make your home look pretty. These Diy Custom Built-in Shelves were not easy by any stretch of the imagination, but once we got one down the second one went SUPER fast. The photos really don’t do them any justice. They’re absolutely gorgeous! If you have any questions please don’t hesitate to ask!



CONNIE
05/28/2016 at 8:31 PM (8 years ago)Love the bookcsses, but my Beard does NOTHING with DIY! Lucky you!!!
stacey
06/01/2016 at 8:17 AM (8 years ago)Thank you so much Connie! Yes, I am very lucky he puts up with my hair brain schemes LOL. Thank you so much for taking the time to stop by.