I’ve been shopping around for some large planters to put on my front porch. I wanted them larger so I could plant some Perenial Hostas in them. I love buying new flowers every year but it gets costly. So I thought planting perennials might be better because they come back every year. I found these beauties from Monrovia at Lowes. Aren’t they gorgeous??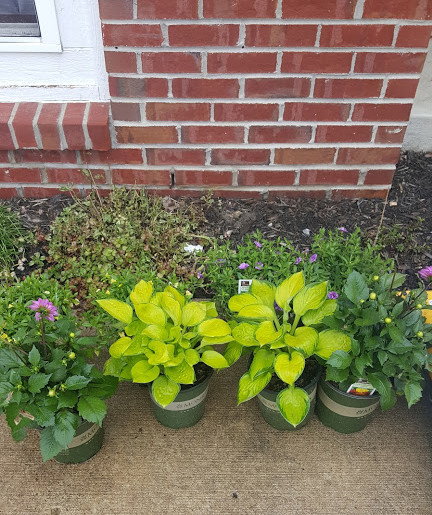 Well I knew they weren’t going to fit in the planters I had and everything I saw at the box stores was WAY to expensive for my little budget. So I convinced the beard to build some for me, and they cost a fraction of the price.
***This post contains affiliate links for your convenience for my full disclosure go HERE***
What you’ll need:
- 4X4 Sheet of 1/2″ Plywood
- Nail Gun ( We use this one)
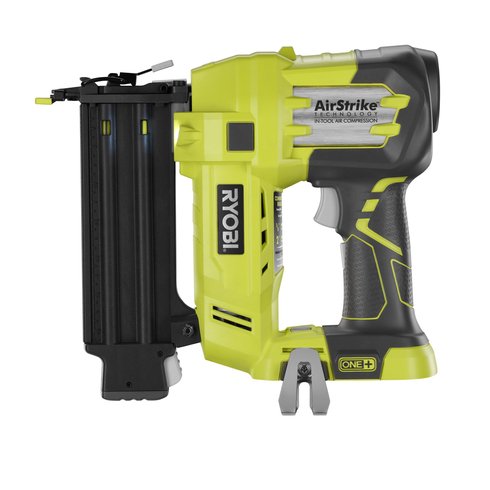
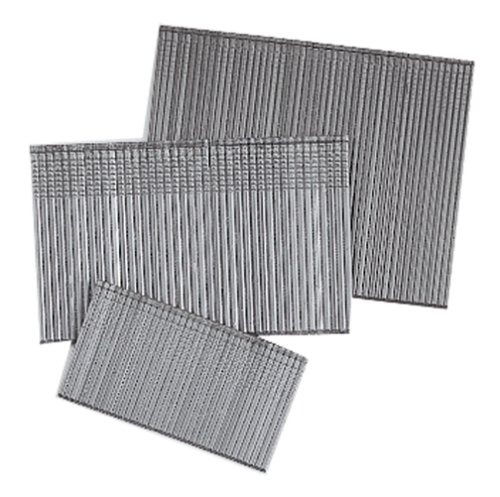
- Brad Nails
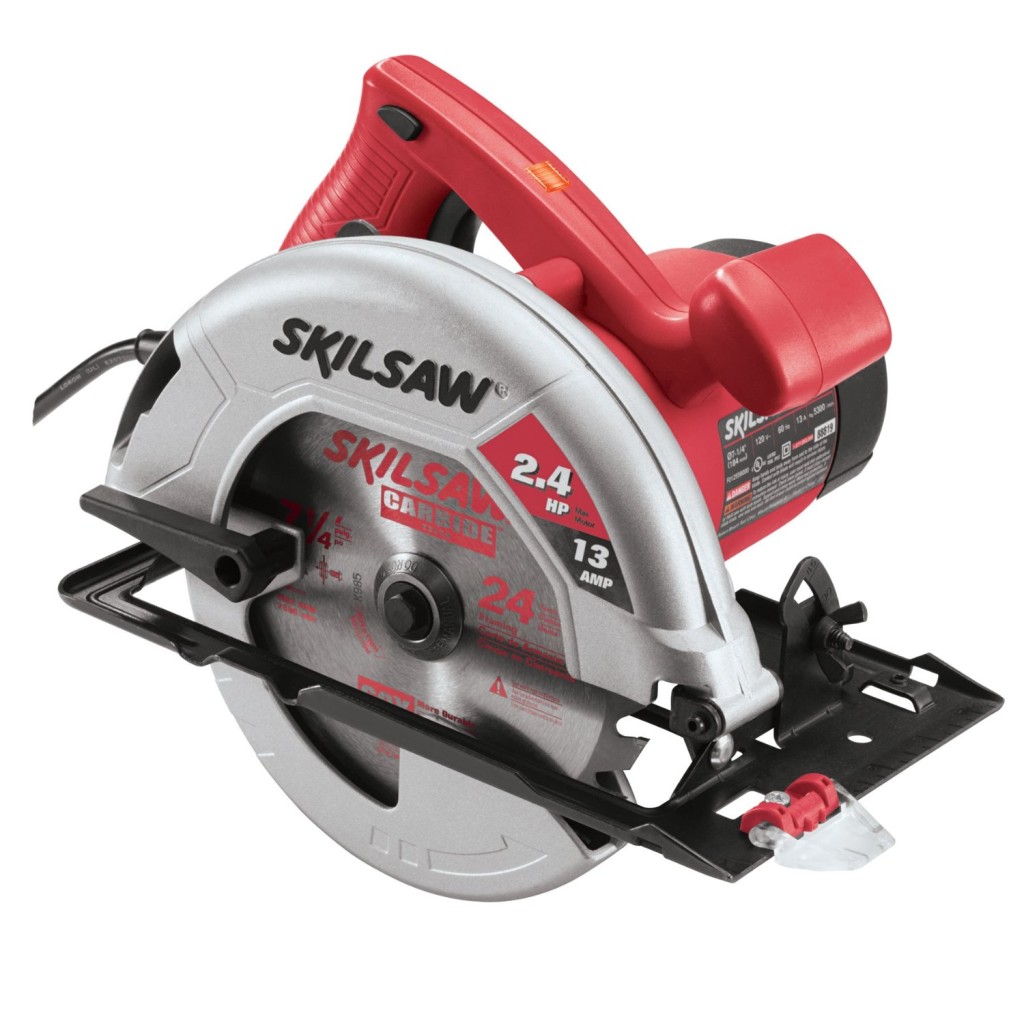
- circular Saw
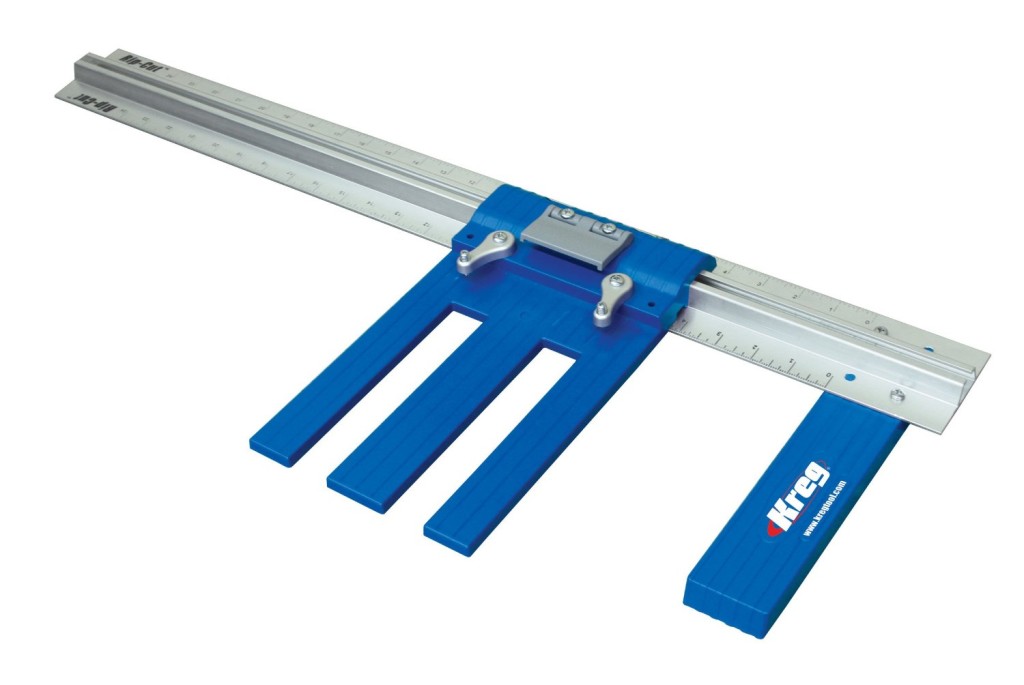
- Kreg Rip Cut
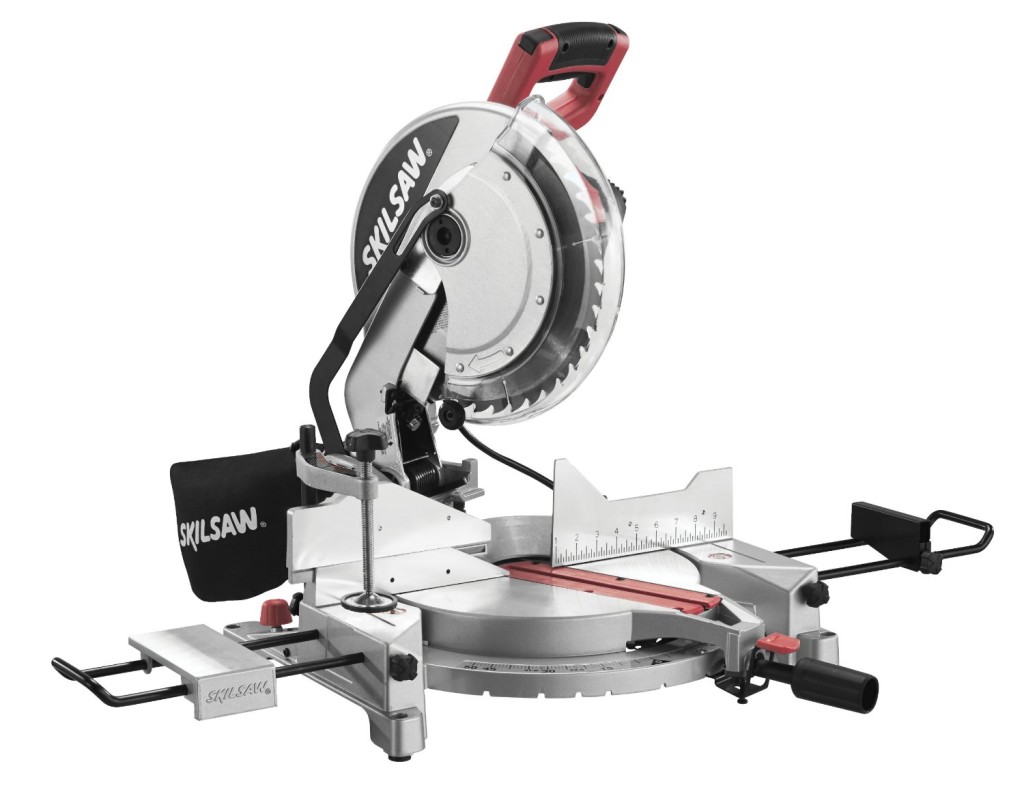
- Miter Saw
- Furring Strips
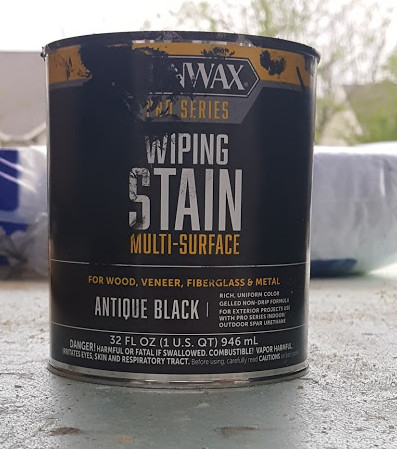
- Stain
Price Break Down
- Furring Strips .88 a piece we used 8 -$7.00
- Plywood Sheet We used half of one -$6.75
- Stain -$13.00
- TOTAL Cost for materials-$26.75
Compared to 120.00 If we would have purchased them at a bix box store. Not bad huh??
After you get all of your supplies together it’s time to assemble the boxes.
- Using your Kreg Rip cut or table saw Cut four pieces 15″Wx36″L
- Assemble the four pieces into a box shape using your nailer. (you could also do this with wood screws or a hammer and nail)
- After it’s assembled cut it in half. This will give you your 2 planters.
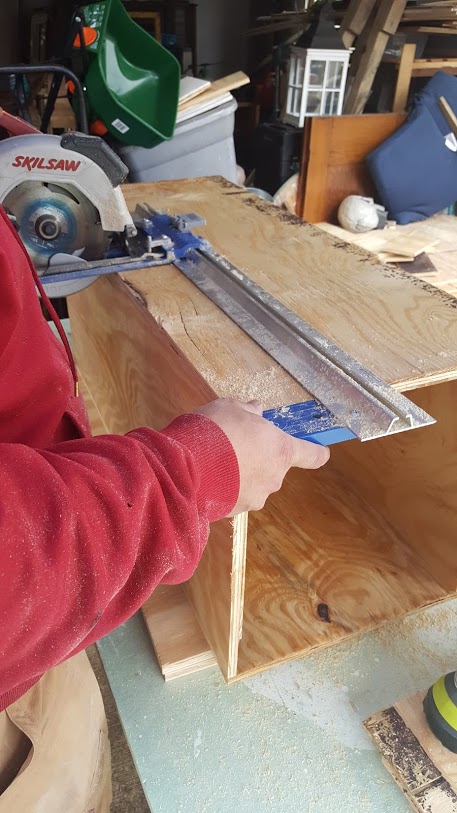
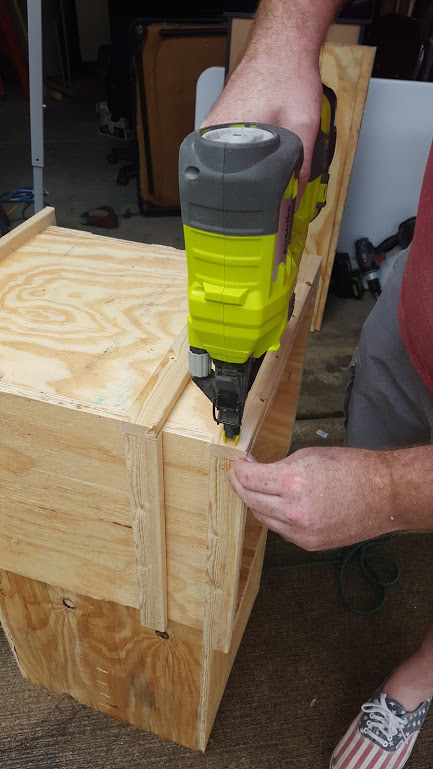
- Next take your Furring strips and add the top trim. We mitered the corners with the miter saw to give them a more custom look.
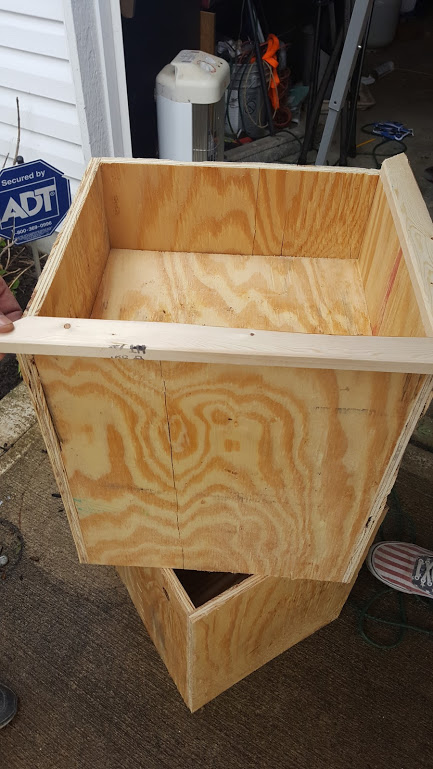
- After the top trim is done add the 2 bottom pieces. We did 2 rows to make them look more fancy.
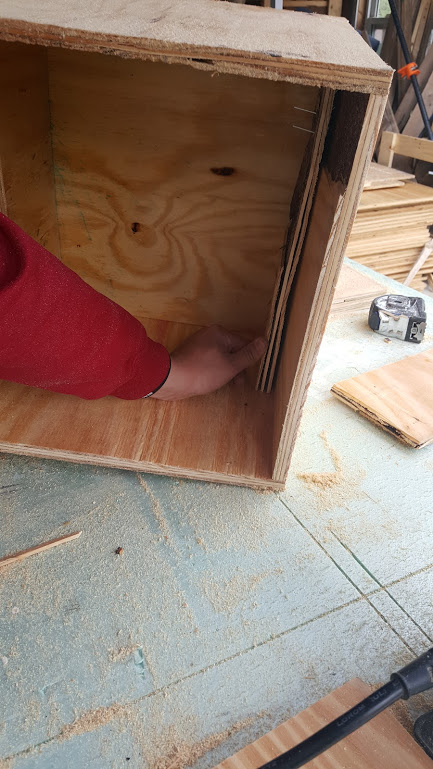
- Next we added cleats and a new bottom closer to the top so we wouldn’t have to fill them up with so much dirt.

- Next we stained them and sealed them inside and out to prevent water damage.
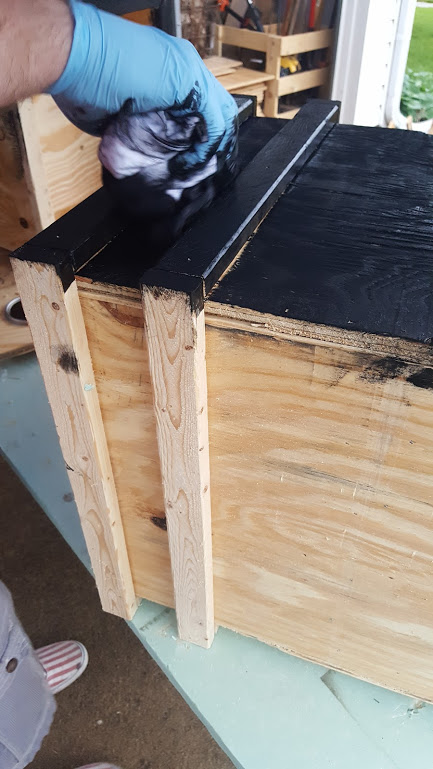
- I then drilled 4 holes in the new bottom for drainage, filled it with dirt, and Planted 1 Hosta and 2 calibrachoa per planter.
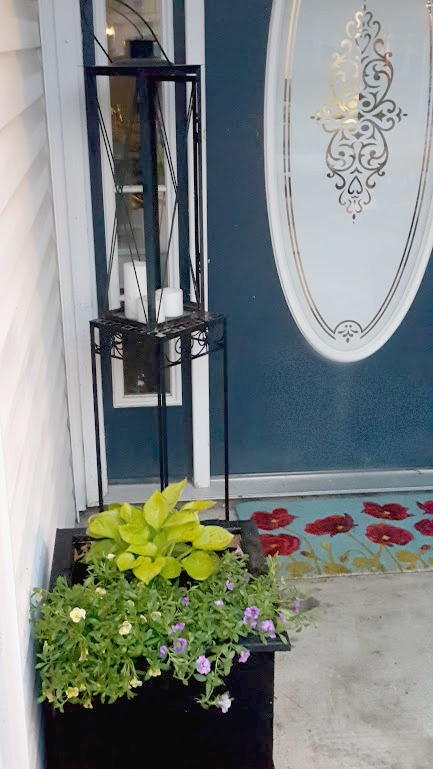
They’re so gorgeous and I can’t wait until they grow and fill in. The beautiful green of the Hostas and calbrichoas against the black of the planters will be gorgeous! These planters were so easy and turned out perfect!
9 Comments on DIY Wooden Planter Boxes
1Pingbacks & Trackbacks on DIY Wooden Planter Boxes
-
[…] DIY Wooden Planter Boxes – Addison Meadows Lane […]


Kellie smith
05/10/2016 at 9:03 AM (9 years ago)Great idea Stacey!! I need a couple of big planters on my back patio and won’t pay those prices. I make everything else around the house like curtains/rods/wall deco, but never thought to try something like this. And brilliant idea to raise the box’s floor, it also makes them lighter to move around if needed. About how much did you spend on the supplies?
stacey
05/10/2016 at 10:41 AM (9 years ago)Thank you Kellie! The Plywood was 11.00 for a whole sheet(we only used half). The Trim pieces were .88 a piece we used 4 total. The stain was 11.00. So total It cost us about 26.00 for both of them. If you only bought half a sheet of plywood it would be even less! You inspired me to include a cost break down. Thanks so much Kellie!
Mary
05/16/2016 at 6:31 PM (9 years ago)I love how these turned out and they flowers you planted in them are perfect!
stacey
05/20/2016 at 9:41 AM (9 years ago)Thank you so much Mary!
Ivory
07/06/2016 at 12:54 PM (9 years ago)Wow, I love these planter. They are gorgeous. The flowers you chose looks great next to the beautiful stain color you chose. Just joining your site, and I am so happy I did.
stacey
07/06/2016 at 1:15 PM (9 years ago)Thank you Ivory! I’m so happy you’re here and took the time to comment. Have a great day!
Theresa Simoneaux
04/29/2017 at 11:33 AM (8 years ago)So you made a BIG box, cut it in half before adding decorative strips, and added an inner “floor” to hold the plants. yes?
Shirley
07/24/2018 at 8:36 AM (7 years ago)Very well done and they really look pretty. So how well did they fill in? Do you have recent pictures