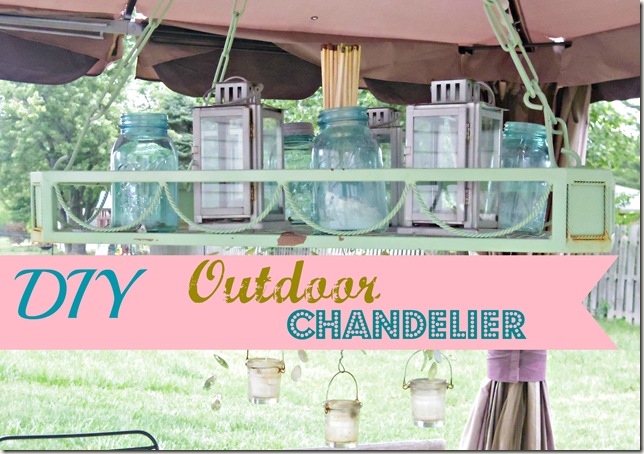
NOthing says party like a chandelier! This is one of the easiest and cheapest projects I’ve done.
What you’ll need:
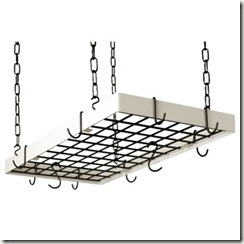
- A pot rack. I found mine on craigslist for 10.00 it doesn’t really matter what color it is, you should mainly be concerned with the style of it. an ideal one would be like mine that would hold items on top as well as hang from the bottom. (can’t find my before image but it was kinda like the one below)
- A can of spray primer.
- A can of spray paint in any color you choose. I chose Krylon pistachio green
- A roll of chicken wire. This may not be necessary for your pot rack. The squares on mine were really far apart so I couldn’t set anything small on the top.
- Some strands of gems and jewels to adorn your chandy with. I got mine from Hobby Lobby. Any style /color will do it’s all up to what you want.
- Some bendable wire.
- Glass Tea light Jars
The how to of it all: * The first 2 steps may not be necessary for you just skip them if you don’t need chicken wire.*
1. First Lay Your chicken wire across the top of your Pot rack and cut it to fit down inside it.
2. Secure it with the roll of bendable wire. I attached three points down each side and three down the middle.
3. Clean The entire rack off including the chains that hold it with a degreaser I use 409.
4.Prime the whole thing including the chains with your spray primer. Let it cure for at least 4 hours.
5. Spray paint the entire thing which ever color you chose. Let dry overnight just to be sure the paint gets nice and dry.
6. I then distressed it. I took a wire brush to it and chipped some of the paint off. This step is completely optional, but ya’ll know how i LURV my chipy painty rusty things!
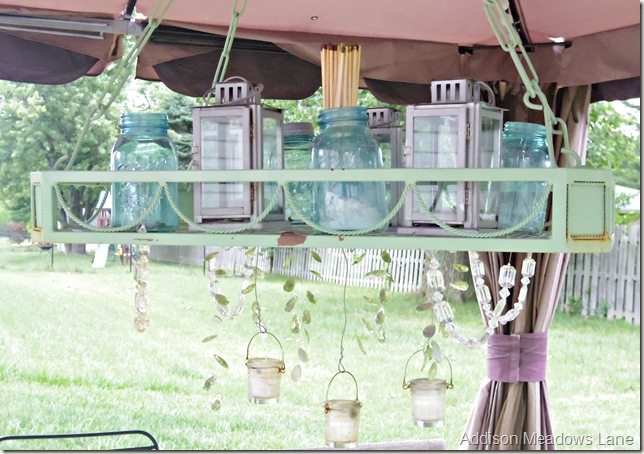
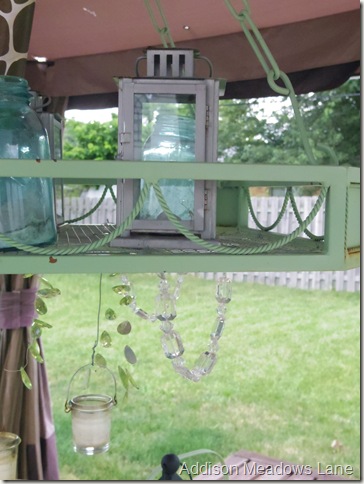
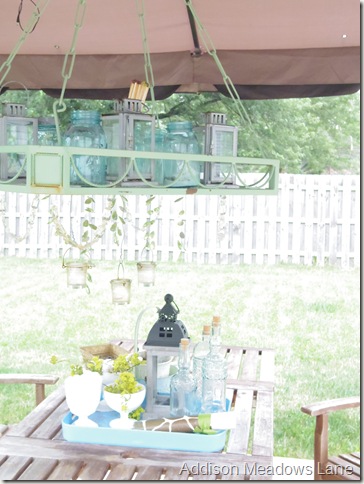
7. And now for the fun part!! Decorate It!! I hung three glass tea light Holders from the bottom with the same wire I used to secure the chicken wire.
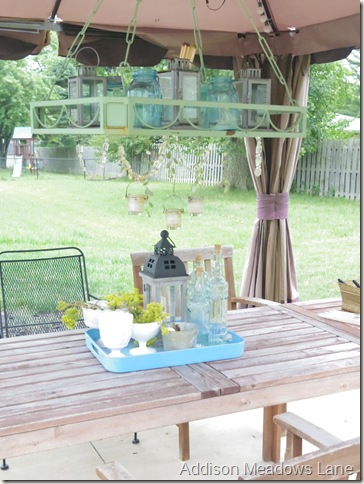
You can literally put anything you want on it. Succulents look fabulous, and do well under the gazebo. I already had all the jars and lanterns so this chandy cost me 20 dollars total, and in my opinion is waaayyy Better than the over priced boring ones at all the stores. Now for some more eye candy……
AAAAAAAAAAHHHHHH
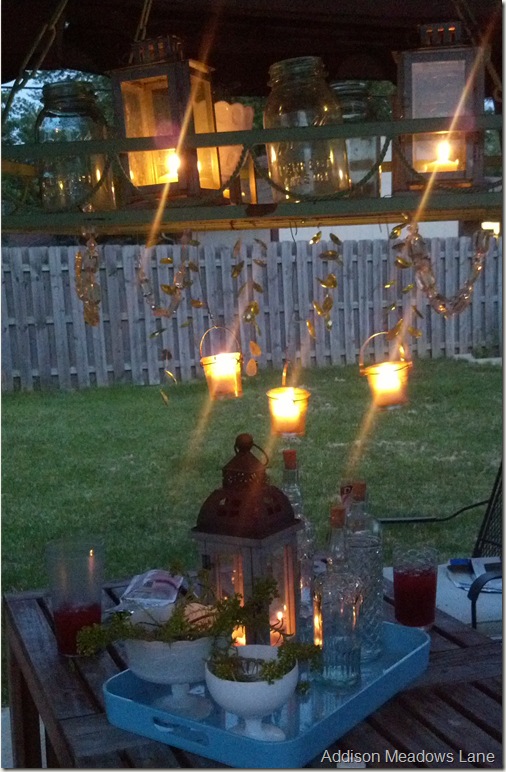
Oh you want a night shot too??!!?? I guesss……
SWOOON. I’m so in Love with this chandelier it’s silly! I just hope I see some people do their own! If you do please be sure to let me know so I can check it out!
If you have any questions or need any help or feel like I missed anything please don’t hesitate to comment!
-Stacey

Ef Zin Creations
06/27/2013 at 8:09 AM (12 years ago)Really beautiful!
stacey
06/27/2013 at 3:54 PM (12 years ago)Thank YOu! Super glad you like it!
Katie @ Upcycled Treasures
06/27/2013 at 8:39 PM (12 years ago)LOVE this and is looks so magical when it’s lit up at night. The color is really pretty too 🙂
stacey
06/27/2013 at 9:06 PM (12 years ago)Thanks Katie! Super Stoked you like it! Thanks for taking the time to comment. 🙂
Paula Parrish
06/28/2013 at 11:05 AM (12 years ago)I love your new outside chandelier, your space must look so pretty at night. :o)
stacey
06/28/2013 at 3:50 PM (12 years ago)Oh it does…My patio is definitely my favorite space. Thanks so much for stopping by!
ingrid@nowathomemom
06/28/2013 at 3:32 PM (12 years ago)so beautiful!
stopping by from SeeVanessaCraft! 🙂
Jennifer @ PinkWhen
07/01/2013 at 8:03 PM (12 years ago)Ok, that is CRAZY AWESOME!! I completely love that. If we weren’t in Louisiana and needed a ceiling fan on our back patio, I would TOTALLY be doing this. PINNED! Thanks for linking it up to the DIY Sunday Showcase!
stacey
07/02/2013 at 2:24 PM (12 years ago)Thanks so much for taking the time to drop by and comment! I’m so happy you liked it!
another jennifer
07/02/2013 at 1:54 PM (12 years ago)This is really cool! I might try my own version of this.
stacey
07/02/2013 at 2:23 PM (12 years ago)Thanks for the comment! I hope you do try it it’s super easy, and cheap! My 2 favorite words. LOL.
Kimber
07/02/2013 at 5:25 PM (12 years ago)Love this idea! I’m pinning it now. Such a unique way to light a patio!
Andrea
07/03/2013 at 4:41 PM (12 years ago)What a beautiful and whimsical idea!
Here from the Blog a Day Blog Hop,
Andrea – Mom Imperfect.
Ellie
07/04/2013 at 2:52 PM (12 years ago)Stacey, I am blown away!dying to make one myself but don’t know where I could hang it from! Maybe agree. Simply magical. Thanks so much for sharing this at THE Pin It Party! XO ellie
Markell Corpus
07/05/2013 at 6:29 PM (12 years ago)I love it. It’s super pretty. We’re moving into a new house soon and I might have to do something like this. Thanks for linking this up last week at the pin it proudly link party. I pinned it on pinterest I can’t wait to see what you link up this week! here’s the link to this weeks party
Suzie
07/09/2013 at 9:13 PM (12 years ago)This is so beautiful! I would love it if you’d come share it at my 1st Clever, Crafty & Creative Linky Party!
http://dorothysueandmillieb.blogspot.com/
Suzie
stacey
07/09/2013 at 10:49 PM (12 years ago)Thank you! I’d be delighted to link up!
Suzie
07/16/2013 at 6:49 PM (12 years ago)Just wanted to let you know that you were featured in last week’s 1st Clever, Crafty & Creative Linky Party on my blog.
Here is the link, and I would love for you to share more of your awesome projects!!!
http://dorothysueandmillieb.blogspot.com/2013/07/clever-crafty-creative-linky-party-2.html
Michele
07/15/2014 at 11:43 PM (11 years ago)Great repurpose! Happy Tuesday. I’m stopping over from the Hobnob where I’m co-hosting:)