Ok. First off, these chairs, even in their dilapidated state, are used just about everyday in this house. No kidding, the girls love them! So it was coming to the point where they were literally falling apart, and we were going to throw them away. Thank goodness I was cruising Pinterest and found This Tutorial or else they were goners! I couldn’t really find any tutorials on how to do these specific type of chairs so i just kind of made it up as I went so Now on to the tutorial.
What You’ll Need:
- Phillips Head Screwdriver
- Staple gun
- Thin Piece of wood or MDF ( I used the bottom of an old drawer I didn’t need )
- Foam (to create the cushion)
- Fabric
- Spray Paint: Exotic Sea Frosty Berry
- Jigsaw
- Marker
The How To Of It All:
- I cleaned the chairs off and removed the cushions
- I taped off the black plastic feet and hinges
- My Nieces and I spray painted them with Valspar Paint and Primer
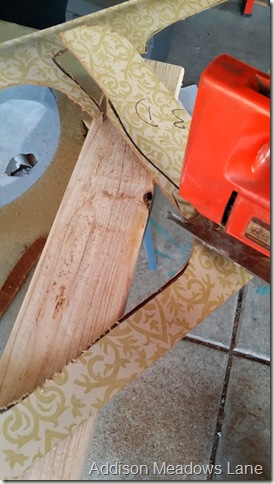
4. While the chairs were drying, my sister and I Traced the old back and seat cushions on the drawer bottom, then cut them out with a jigsaw
5.After the new pieces are cut use the old seat and back cushion to mark where the new seat and back cushions will attach to the chair. (In our case we had to cut slits for clips that attached the seat. Your chairs may be different.)
6.We cut our foam out to the size of the new chair bottom and back cushion.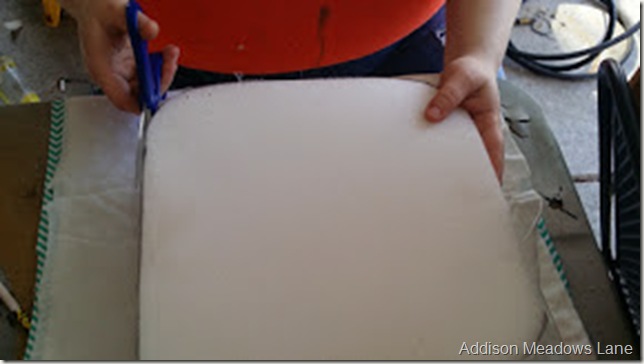
7. Cut the fabric and a liner piece. I cut the white liner from the back of an old black out curtain to fit the size of the seat and the back cushion. I did this to be sure you couldn’t see the foam through the fabric.
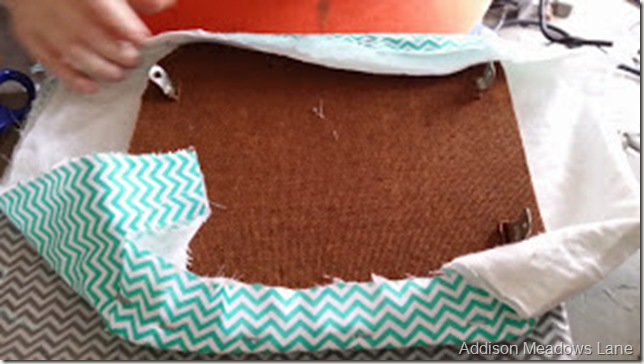
8. Using the staple gun to attach the foam, liner, and fabric.
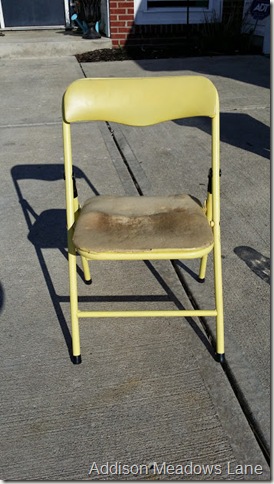
Now It’s time to attach your cushions to your freshly painted chairs and admire your handy work! So just to refresh your memory this is what the chairs looked like before.
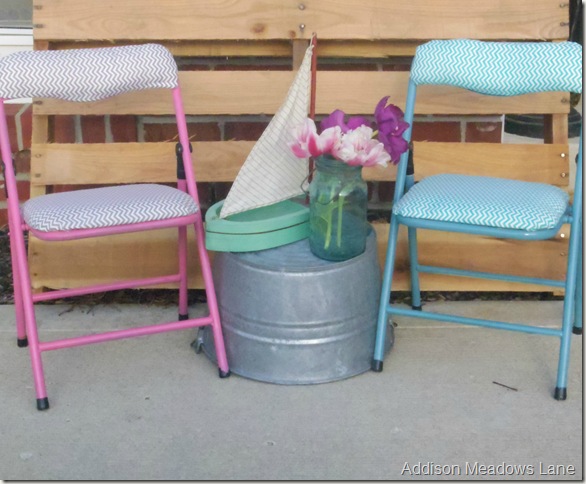
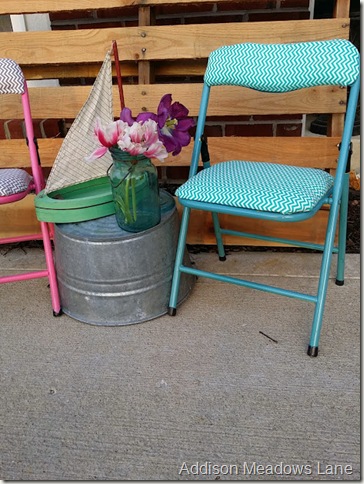
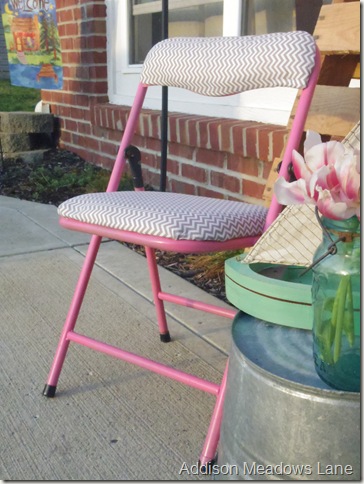
And Here are more than a few After Shots:
They Turned Out so Much Better Than I thought! I absolutely Love them! Not to mention, I had everything to re-do them on hand, so they cost nothing to makeover. Also they only took a few hours. So fun!
Thanks For Stopping By!
-Stacey
Link It Up:


Erika Buckley
04/15/2014 at 11:57 AM (11 years ago)These look great – so bright and cheerful!
*** Service disabled. Check account status. Antispam service cleantalk.org. ***
stacey
04/15/2014 at 1:54 PM (11 years ago)Thank You so much!
Carrie This Home
04/15/2014 at 5:25 PM (11 years ago)What a difference a little work and spray paint can make! I love how these chairs turned out. I would love it if you’d link this up to the Frugal Crafty Home Blog Hop–we love seeing projects like this!
stacey
04/16/2014 at 1:29 PM (11 years ago)Thanks for stoping by Carrie! I’m convinced now, after this project, spray paint can pretty much fix anything. LOL.
Heather {Woods of Bell Trees}
04/15/2014 at 9:32 PM (11 years ago)I never imagined that one of those folding chairs could be so gorgeous! Awesome job!
stacey
04/16/2014 at 1:28 PM (11 years ago)Thank You Heather! They definitely turned out much better than I expected.
Corey @ TinySidekick
04/15/2014 at 9:48 PM (11 years ago)What a great transformation and how awesome that you saved them from the trash! Your kiddos are probably so excited to have their favorite chairs all done up! Thanks so much for linking up at The Makers! We are so glad to have you.
stacey
04/16/2014 at 1:26 PM (11 years ago)Oh the kids love them for sure! Thank you guys so much for hosting such an awesome Link party, and for taking the time to come by and comment. It’s much appreciated.
Michele
04/16/2014 at 9:12 PM (11 years ago)Love your makeovers! Pinned
liz nieman
04/18/2014 at 1:33 PM (11 years ago)love it!
stacey
04/18/2014 at 3:46 PM (11 years ago)Thank you! I’m glad you Like them!
Leslie
04/18/2014 at 1:41 PM (11 years ago)I LOVE these chairs! What a wonderful project. I am always looking for great ideas for furniture, so I’m definitely pinning this one. I found you through the Chic on a Shoestring Decorating link party. Thanks so much for sharing! New follower. 🙂
~Leslie
stacey
04/18/2014 at 3:45 PM (11 years ago)I’m so glad you like them! No kidding, they only took like 3 hours to finish. Most of the time was spent waiting for the paint to dry. LOL
Kristy O
04/25/2014 at 11:25 AM (11 years ago)I LOVE these chairs, such a great up-cycle! I love your color choices, so fun!
Kristy @ 3 Peppers Recipes – Crafts, Cooking & Color
Ivory
07/22/2016 at 10:33 AM (8 years ago)I love the fabrics and the colors you chose. You did a beautiful job!!! I have just one question, can you show the step you did to keep the seat from falling out
stacey
07/28/2016 at 4:31 AM (8 years ago)Hello Ivory! I just used the same holes it already had.