
Hey Babes! You know what time it is. It’s FURNITURE REFRESH TIME!!! I feel like the guy from Blues Clues when he would get the mail LOL. So this month’s Theme was WEATHERED. Pretty much my absolute favorite finish on everything. If it looks like it’s been sitting outside for 100 years and no one has touched it SIGN ME UP! I kind of cheated a little bit this month. Instead of using an actual piece of furniture I decided to make my piece. It was super easy!
First thing was first my Brother in-law works at a rock quarry and they had some of these wood spools lying around. SCORE he just brought them home for me.

So after you locate your spool and get it home you have to disassemble it and clean the dirt off.
- To take it apart you just have to break loose the 3 bolts on the end.
- After that clean it up with a wire brush and hose, then let it dry.
- When the wood is completely dry remove any nails or staples sticking out of it.
- Next white wash it. I use 70% white laytex paint to 30% water brush all over the front and sides of the round end piece. Let dry for 24 hours.
- After the white wash has dried, in small sections, brush on and wipe off minwax classic gray stain until the whole thing has been stained . This gives it the gray driftwood color.
- While your stain is drying cut a piece of sheet metal in a circle to cover the middle hole and spray paint it black. This step is completely optional. I’ve seen many pieces like this with just the numbers painted on it and no clock hands. It’s totally up to you what you’d like to do.
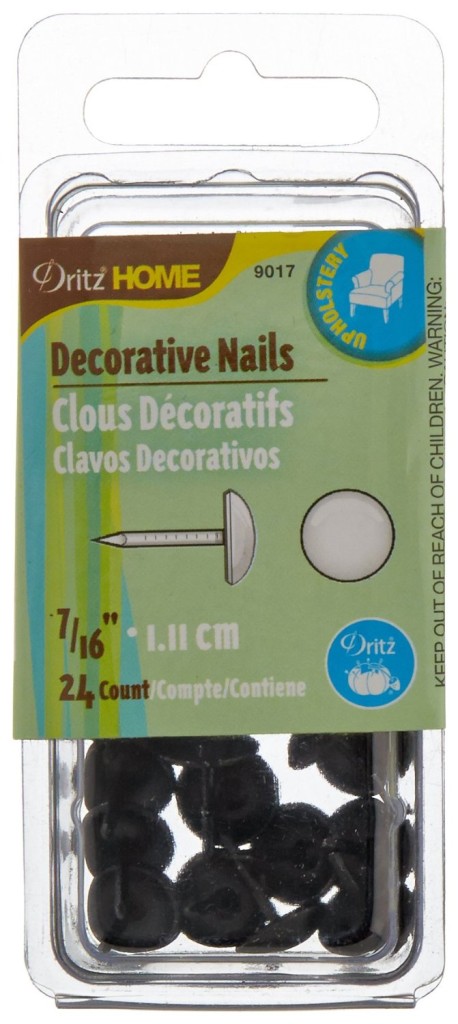
- After your clock is dry add your round piece of sheet metal. I used upholstery tacks to attach it. They work perfectly and give it a nice look. I used these:
- Add your clock motor and hands I used this one:

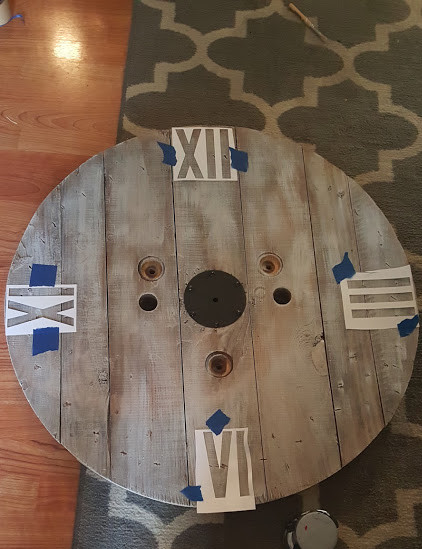
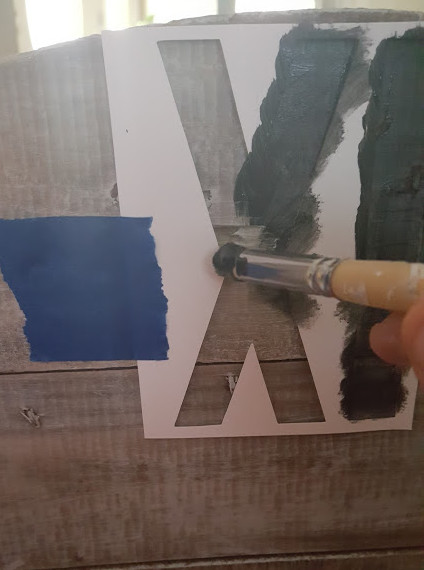
- After you add your hands time to paint your numbers on. I just used a font I liked and Typed a bunch of I,V,and X’s for roman numerals. Then cut them out with an exacto knife and painted them on with black laytex paint.
- Now it’s time to add a hanger. I use this D-hook and Wire assembly
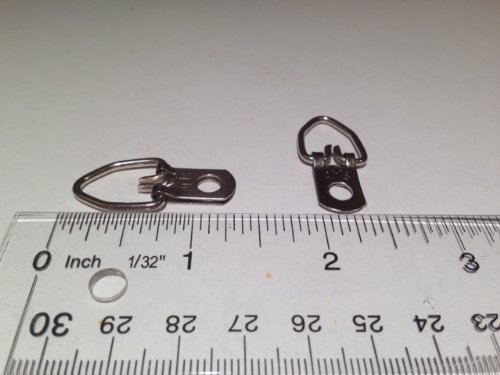
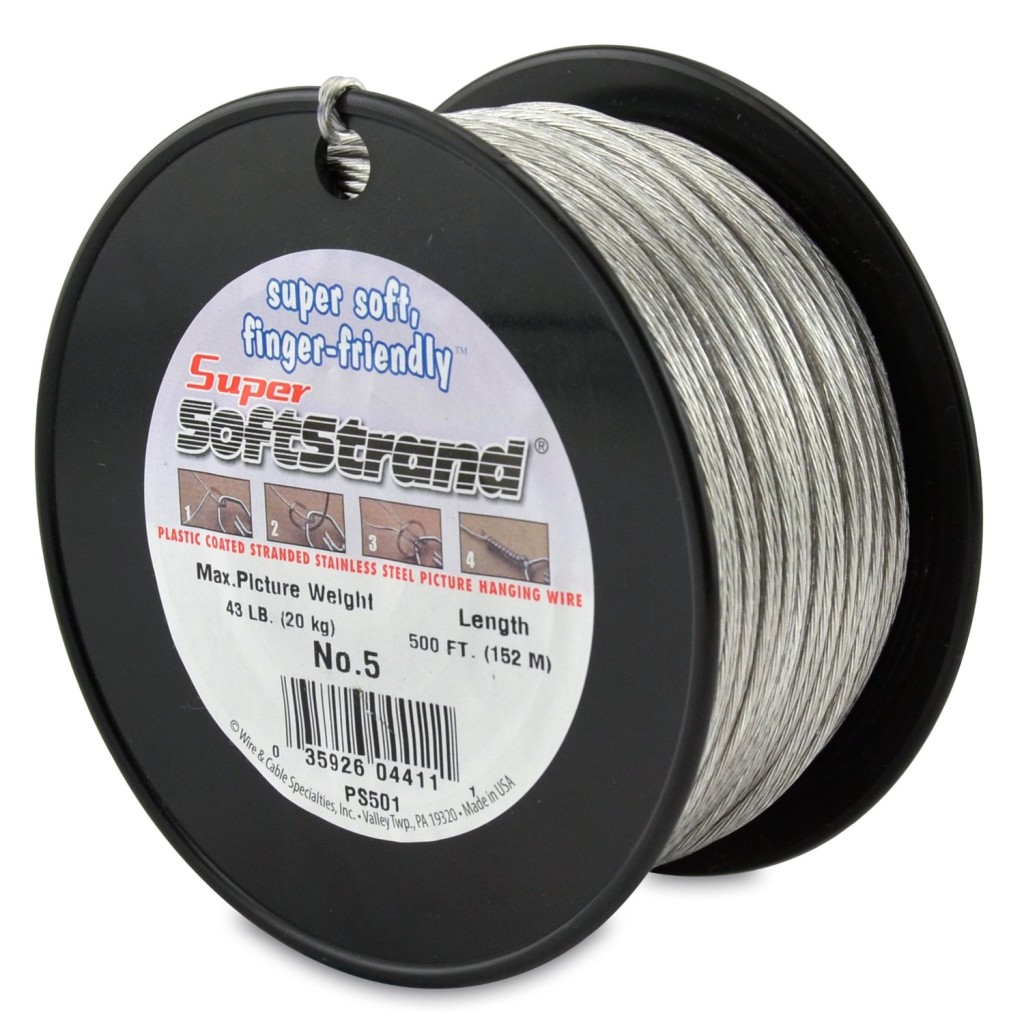
Obviously I know you would never have a need for 100 D hooks and 500′ of heavy duty picture wire. I just wanted you all to be able to see what I used to hang it. I have this much of both of these items because of our business Brutus & Andi Sign Co. We actually make and sell these clocks. SO if you go through this tutorial and decide ya just wanna buy one GO HERE or message me and I can help you out.
Ok it’s time to get this weathered beauty up on the wall! Here she is in all her glory

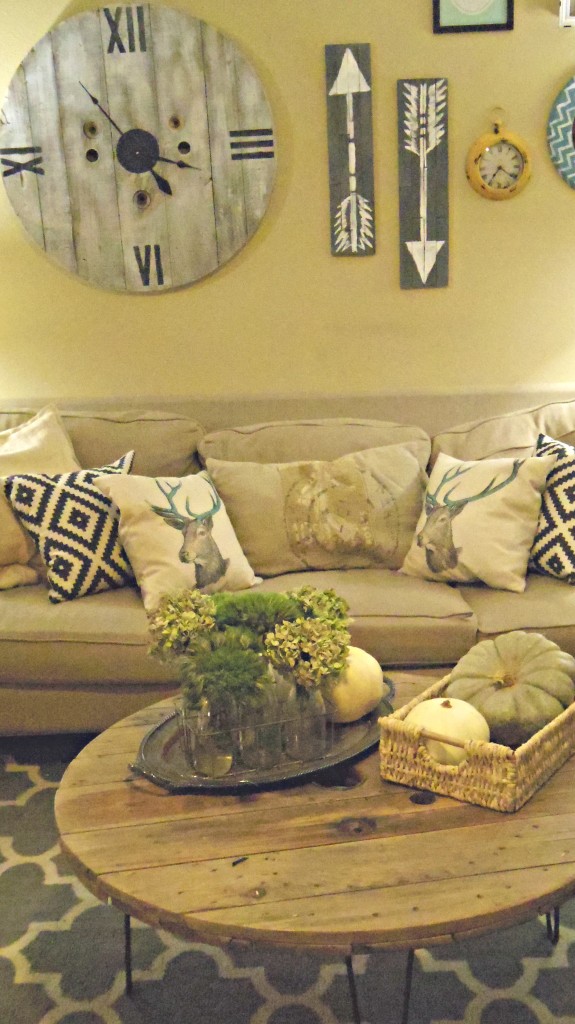
LOVE IT! Now be sure you check out all of the other fantastic projects from this months Furniture Refresh below and show them some love!
[inlinkz_linkup id=575641 mode=1
Thanks for Stopping By!

17 Comments on DIY Clock From a Wooden Spool
1Pingbacks & Trackbacks on DIY Clock From a Wooden Spool
-
[…] 2. How to Make a Driftwood Clock […]

Tammy
11/05/2015 at 7:31 AM (9 years ago)Great clock I love how it looks in your room with the coffee table …. perfect match!
stacey
11/12/2015 at 9:44 AM (9 years ago)Thank you so much Tammy!
Joan
11/05/2015 at 10:12 AM (9 years ago)Just what I’ve been looking for!
Any ideas on how to fake a barn door look for my patio door, located in my kitchen eating area?
Also need suggestions in trying to start a decorating project. I have 2 end tables I want to convert into bench seating
in the open kitchen eating area/great room.
stacey
11/12/2015 at 9:44 AM (9 years ago)Hi Joan,sorry for the delayed response. If you’d want to e-mail a picture of the areas your talking about I’d be delighted to help you. addsionmeadowslane@gmail.com Look forward to hearing from you Have a great day!
Emily, Our house now a home
11/05/2015 at 1:36 PM (9 years ago)I love this idea! It looks great on your gallery wall.
stacey
11/12/2015 at 9:39 AM (9 years ago)Thank you so much Emily!
Susie @ The Chelsea Project Blog
11/05/2015 at 8:03 PM (9 years ago)Stacey,
I sooooo love this clock! And, the tutorial is great, too. It looks beatuiful in your home….what a great fit!! Loved visiting your blog. It’s totally awesome! Linking your post to my blog now. 🙂
stacey
11/12/2015 at 9:38 AM (9 years ago)Thank you Susie! I’m so happy to hear you enjoyed my project.
Erin
11/06/2015 at 6:53 PM (9 years ago)I love me a good wooden spool project! Well done!
stacey
11/12/2015 at 9:37 AM (9 years ago)Thank you Erin, I so appreciate you taking the time to comment!
Kim Hunt & Host
11/07/2015 at 7:14 PM (9 years ago)I wish I had a spool! This is such a fun clock. I love the random holes/ Now I will be on the lookout for one to copy you! Great project!!!
stacey
11/12/2015 at 9:33 AM (9 years ago)Thank you Kim, I’m so glad you like it! Thank you for stopping by.
Gerri
11/16/2015 at 2:57 PM (9 years ago)Love, love, love the clock. One question. How do you determine the size of the hands/mechanism so that hands fall at the right place at the right time?
stacey
11/16/2015 at 3:47 PM (9 years ago)Hi Gerri, Great Question! For the length of the hands I usually just measure from the middle to where I think the numbers will be with a tape measure. After I get the measurement I try and find clock hands that are as close to that measurement as possible. To know where to paint the numbers: After I install the motor I put the hands on and put the Small hand to 6 and the large hand to 12 then the same for the 6 and 9. Once those are on and painted I just space the others as evenly as possible. I hope this answers your question. Feel free to contact me if you have any other questions.
Mary-In the boondocks
11/18/2015 at 2:38 PM (9 years ago)That is one pretty clock you have made from that big old spool.It looks like such a fun project. And it looks even better on the wall.
Amberjane
11/23/2015 at 7:20 AM (9 years ago)Great Transformation – thank you for sharing at Pin worthy Wednesday 🙂