
So, it’s almost Christmas. I know, I can’t believe it either. When I was growing up it seemed like it took FOREVER for Christmas to come, but now it seems like it is here before I even take my tree down from the year before! LOL
The house the Beard and I currently occupy I had built 10yrs ago. It’s a cute little 3 bedroom 2 bath ranch that I ,stupidly, didn’t have built with a fireplace. It was in the floor plan, but I had them take it out. WAIT, before you Judge, let me explain why. When I was growing up the main source of heat in our house was a wood burning stove. I HATED IT. I know, such a silly girl. We girls were in charge of filling the wood box. It was actually built into the house. This thing was in retrospect pretty cool. There was a door on the outside of the house you opened then pulled out a wooden box on wheels filled it with wood, pushed it back in and TA DAH!!! you didn’t have to go back outside for wood for a few days. So not only did we have to fill the wood box in FREEEEZING COLD weather we also had to make sure the damn thing never went out. That my friends, is harder than it seems. I swear to this day that stove had it out for me….lol. So this was in the back of my 20 yr old brain while building the house. I remember saying to myself ” I’ll never have a fireplace in my house!” Well now I’m 30 and not an idiot and wish EVERYDAY I would have put that fireplace in, but I guess hindsight really is 20/20.
So since We don’t have a real Fireplace I decided to make This DIY Chalkboard Fireplace. This blank wall served zero purpose and needed something. So we decided it would be perfect.
***This post may contain some affiliate links. That just means if you decide to purchase something I’ll get a little kick back. It helps us keep things running over here on the Lane. For my full disclosure click here.*****
The How to Of it All:
1.First we cleaned the wall thoroughly.
2. I found THIS chalk board paint recipe on Pinterest. I also used the same recipe On my DIY Chalkboard Picture Holder
3. Time to paint it on!(we have textured walls and it works just fine. Just be sure to only use real chalk not the chalk pens)
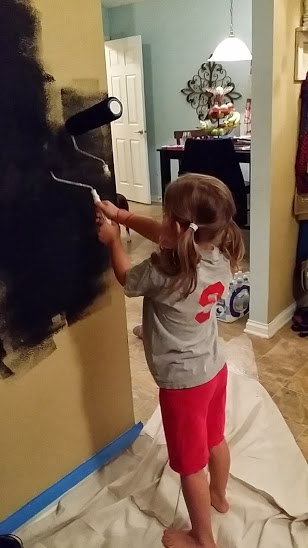
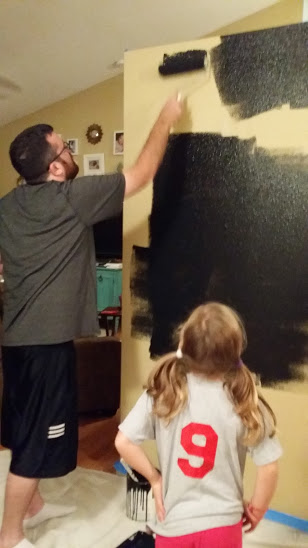
4. let it cure for about 48 hours.
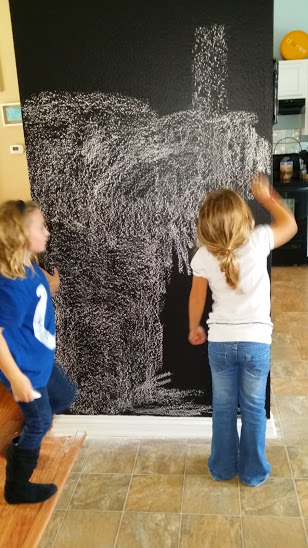
5. After the 48 hours you have to ‘season’ The chalkboard wall. I found a great Tutorial on how to do that HERE.(If you guys haven’t noticed, I use child labor when at all possible.)
6. After the wall was ‘seasoned’ we hung a white floating shelf that resembled a mantel. I don’t have pictures of this step sorry.
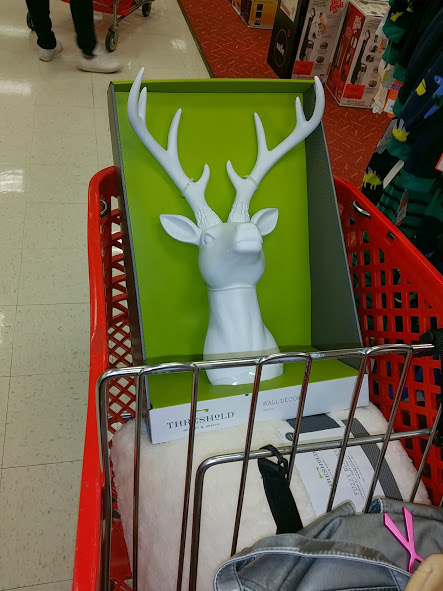
7. We hung Theodore the deer. I found him on Black friday at Target for like 30 or 40 dollars. I LOVE HIM.
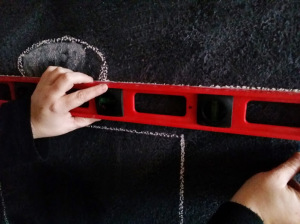
8. I used a 24″ Level and drew Lines for the bricks and inside of the fireplace.
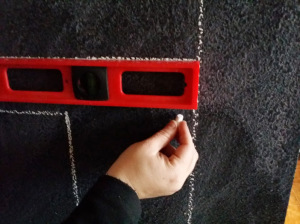
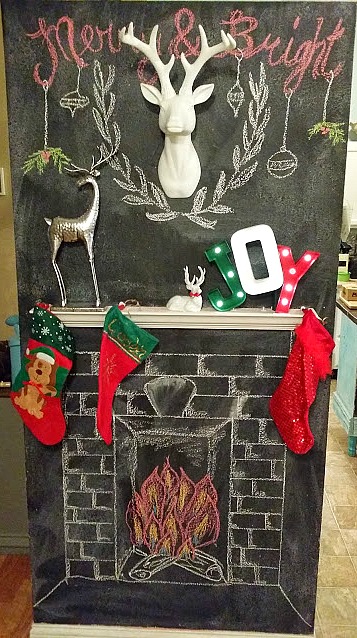
9. I drew flames, logs, and decorated around Theodore.
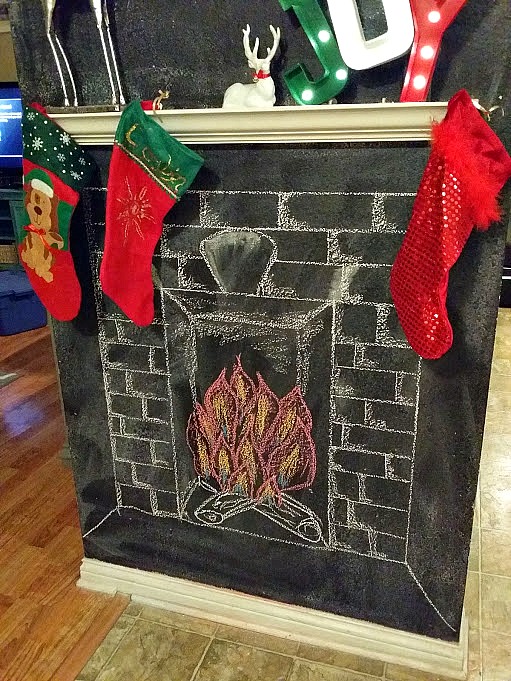
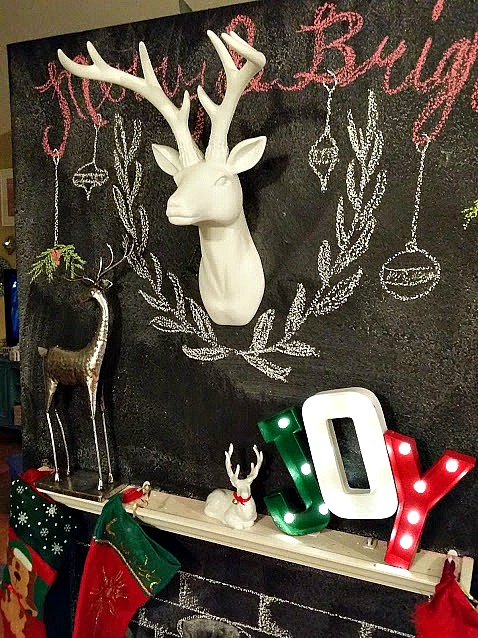
So easy! It turned out awesome now we have a place for our stockings!
Thanks so much for stopping by!

I’ll be linking up HERE

Erica
12/15/2014 at 12:55 PM (10 years ago)Stacey I just absolutely ADORE this! This seriously looks like it came straight out of a magazine. I love Theodore and all your chalk decorating. So, so cool. I’ve been planning to paint a chalk wall for a while but have been lazy about it – this post has kicked my butt in gear so hopefully I’ll get it done soon!
stacey
12/15/2014 at 2:48 PM (10 years ago)AWE Thank YOU Erica, you are too kind! 😀 So glad I could help you get motivated. I can’t wait to see your finished product, I’m sure it will be just as awesome as everything else you do.
Stephanie
12/30/2014 at 2:28 PM (10 years ago)I never thought about a chalkboard fireplace before, but I have to admit I love it! Oh, the fun I could have with it 🙂
Cat @ therusticwillow
12/30/2014 at 8:08 PM (10 years ago)WOW. This is amazing. I love fireplaces and I love the commitment you made to making one. And next time you design a floor plan, you’ll know what to put in first Thanks for linking up at on display thursday!